Export Code
Easily export code for single or multiple screens, directly from Figma or DhiWise. Within a few clicks export code, add the code to your existing apps or start creating a new one.
Using DhiWise Figma Plugin
While using DhiWise Figma-to-code plugin in Figma for your app’s design, you can directly start creating an app as you are done with your app design. DhiWise provides an option to export code for all the screens or selected ones.
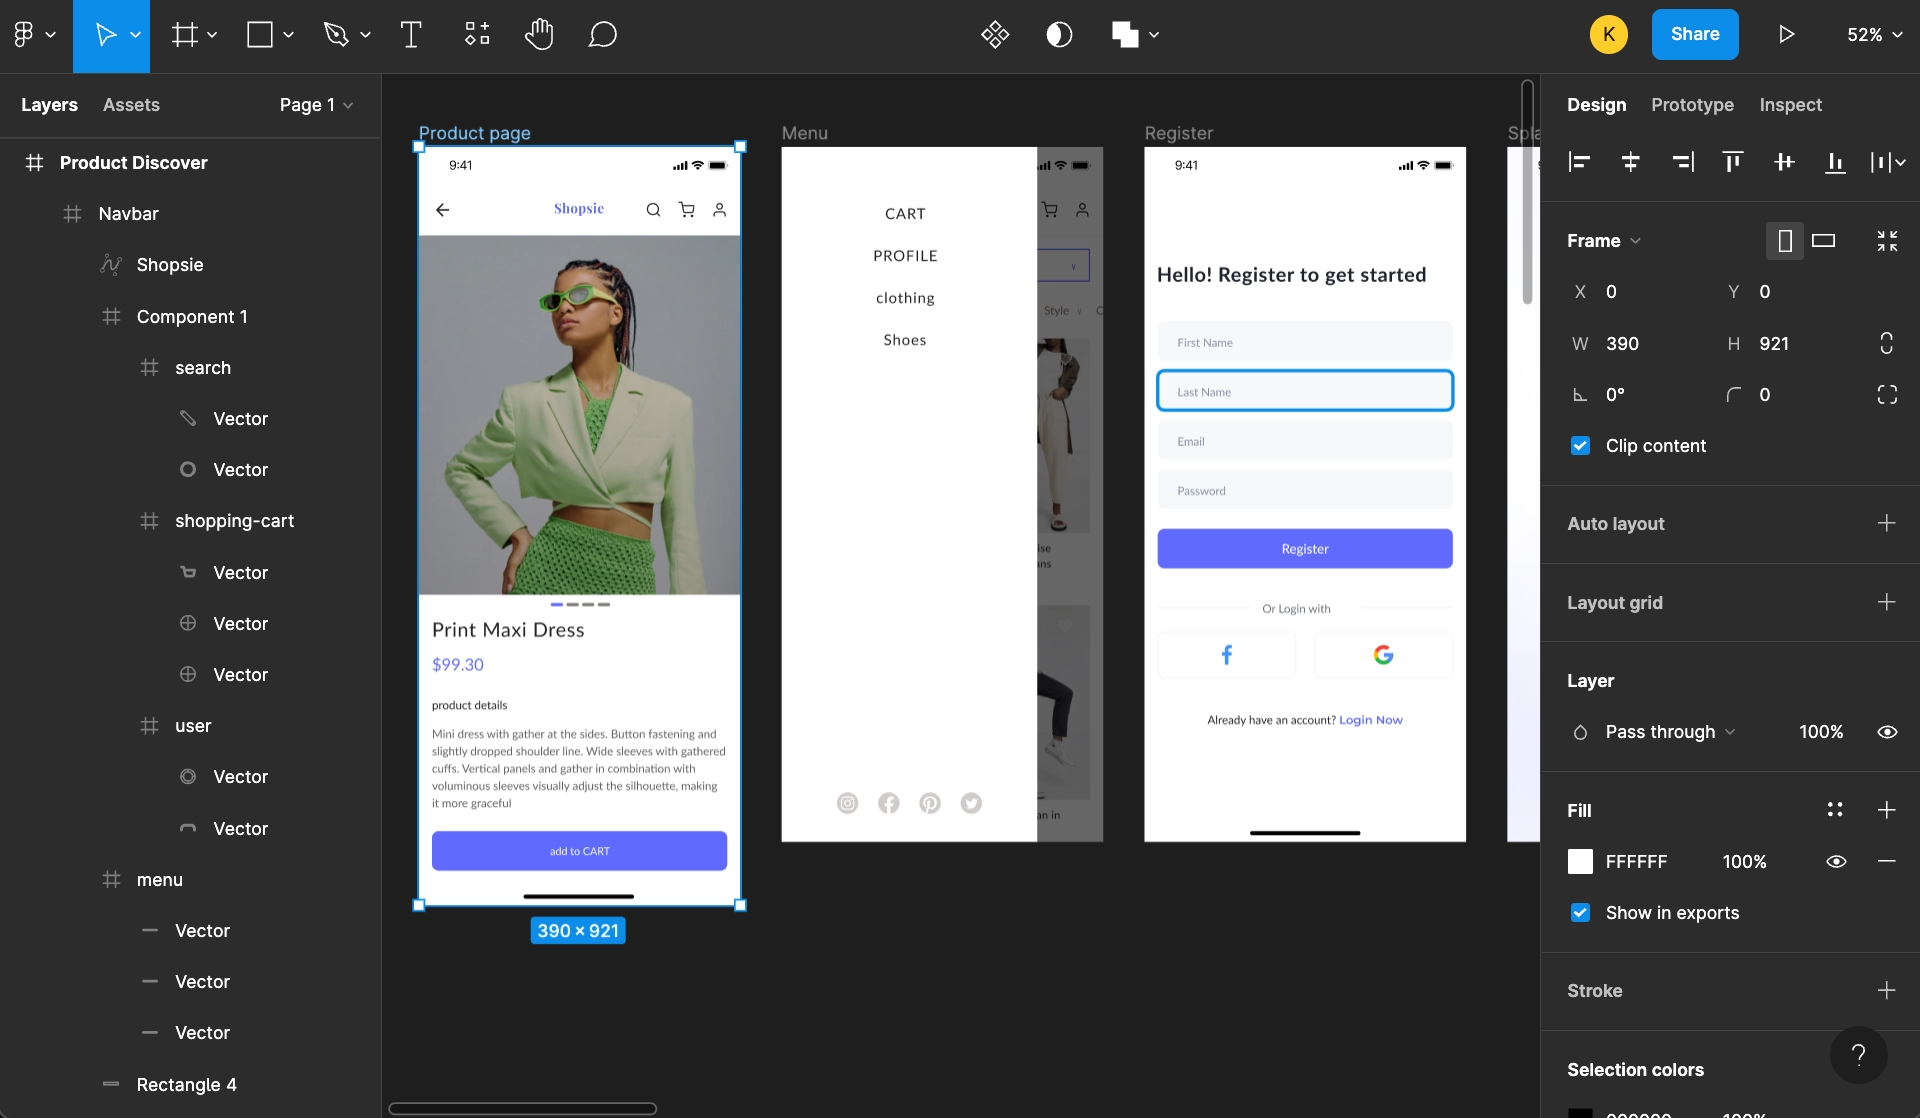
Step 1: Select screens
After activating DhiWise Figma-to-code plugin for Flutter app, select the screens in Figma design for which you want to export the code.
Step 2: Select technology as Flutter and Export option
Next, select Flutter for mobile technology, and ensure the All Frames option is selected under Export option in the plugin panel. If you want to export only selected frames, choose Selected Frames option.
Step 3: Paste Figma URL and Create app
Add the Figma URL in the field for which you want to export screens and click on Create app. This will start fetching the Figma resources and will create an app in DhiWise using the exported screens. Learn more on Figma plugin here.
From App Screen list
Export screen code from your created app in DhiWise.
Step 1: Go to screen list
Go to the screen list for the created application.
Step 2: Select screens
Select the checkbox Export screen for the screen/screens that you want to export.
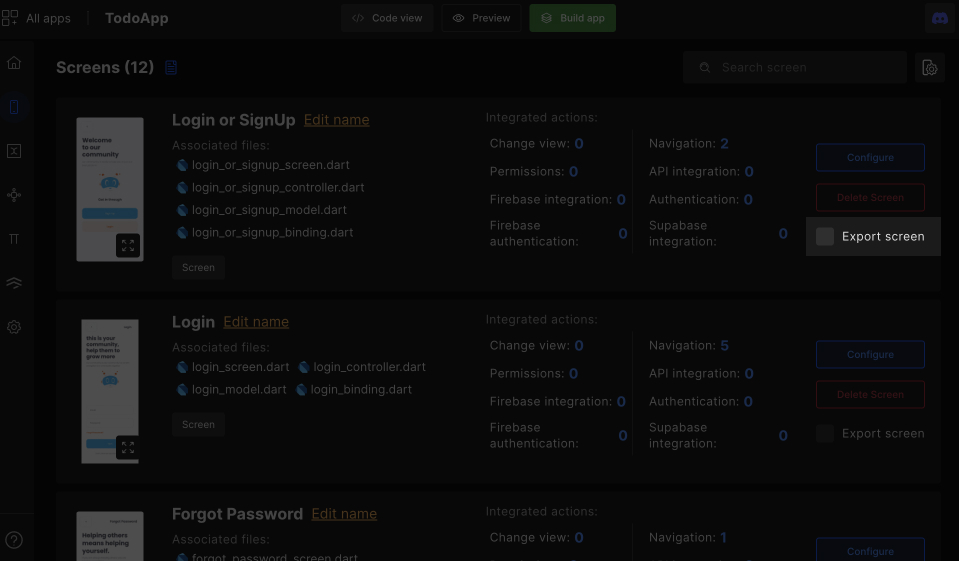
Step 3: Export screen code
Once you select it, click on the Export screen code button, located at the bottom of the screen.

Step 4: Select Code type
As you click on it, a popup to select a preferred code type will arise as below, you need to select one option and proceed ahead to export code with the preferred state management code/or without state management code.
GetX: Includes responsive UI, Stateless widgets, Custom reusable widgets, Models, Navigation and all the other integrations code with GetX state manager.
BLoC: Includes responsive UI, Stateless widgets, Custom reusable widgets, Models, Navigation and all the other integrations code with BLoC state manager.
Provider: Includes responsive UI, Stateless widgets, Custom reusable widgets, with Provider state manager.
Riverpod: Includes responsive UI, Stateless widgets, Custom reusable widgets, with Riverpod state manager.
Without state management: Includes responsive UI, Stateless and Custom reusable widgets code.
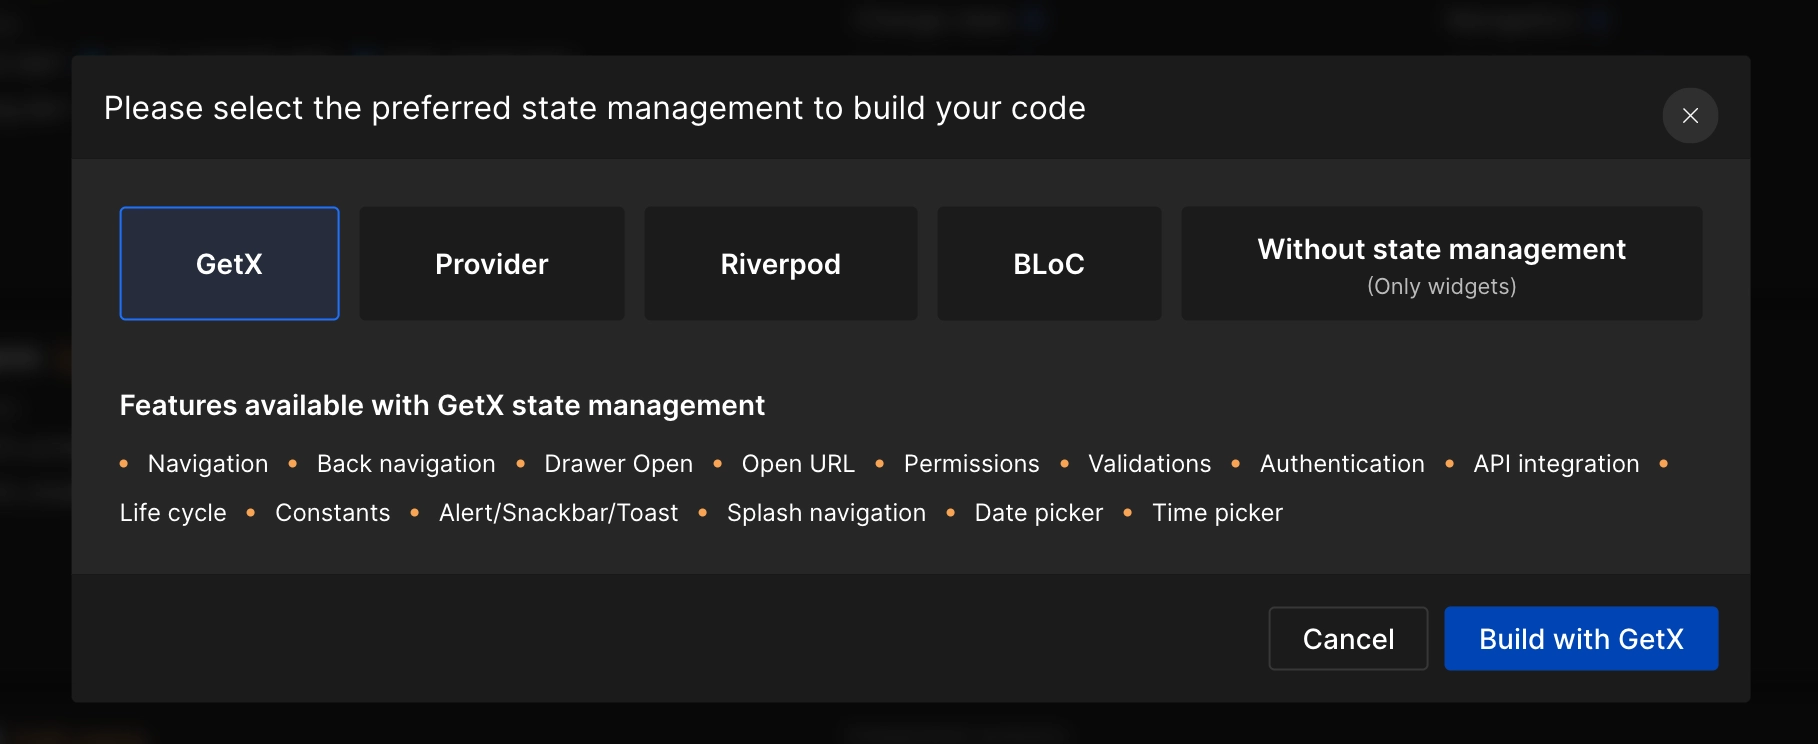
To start creating a Flutter app from the initial without any state management and only design code, choose Without state management (only widgets), and click on Build.
And if you want complete code with state management for your selected app screens, pick a preferred state management, and click on Build.
Step 5: Generate code
Once you select your choice, the selected screens code will start to generate;
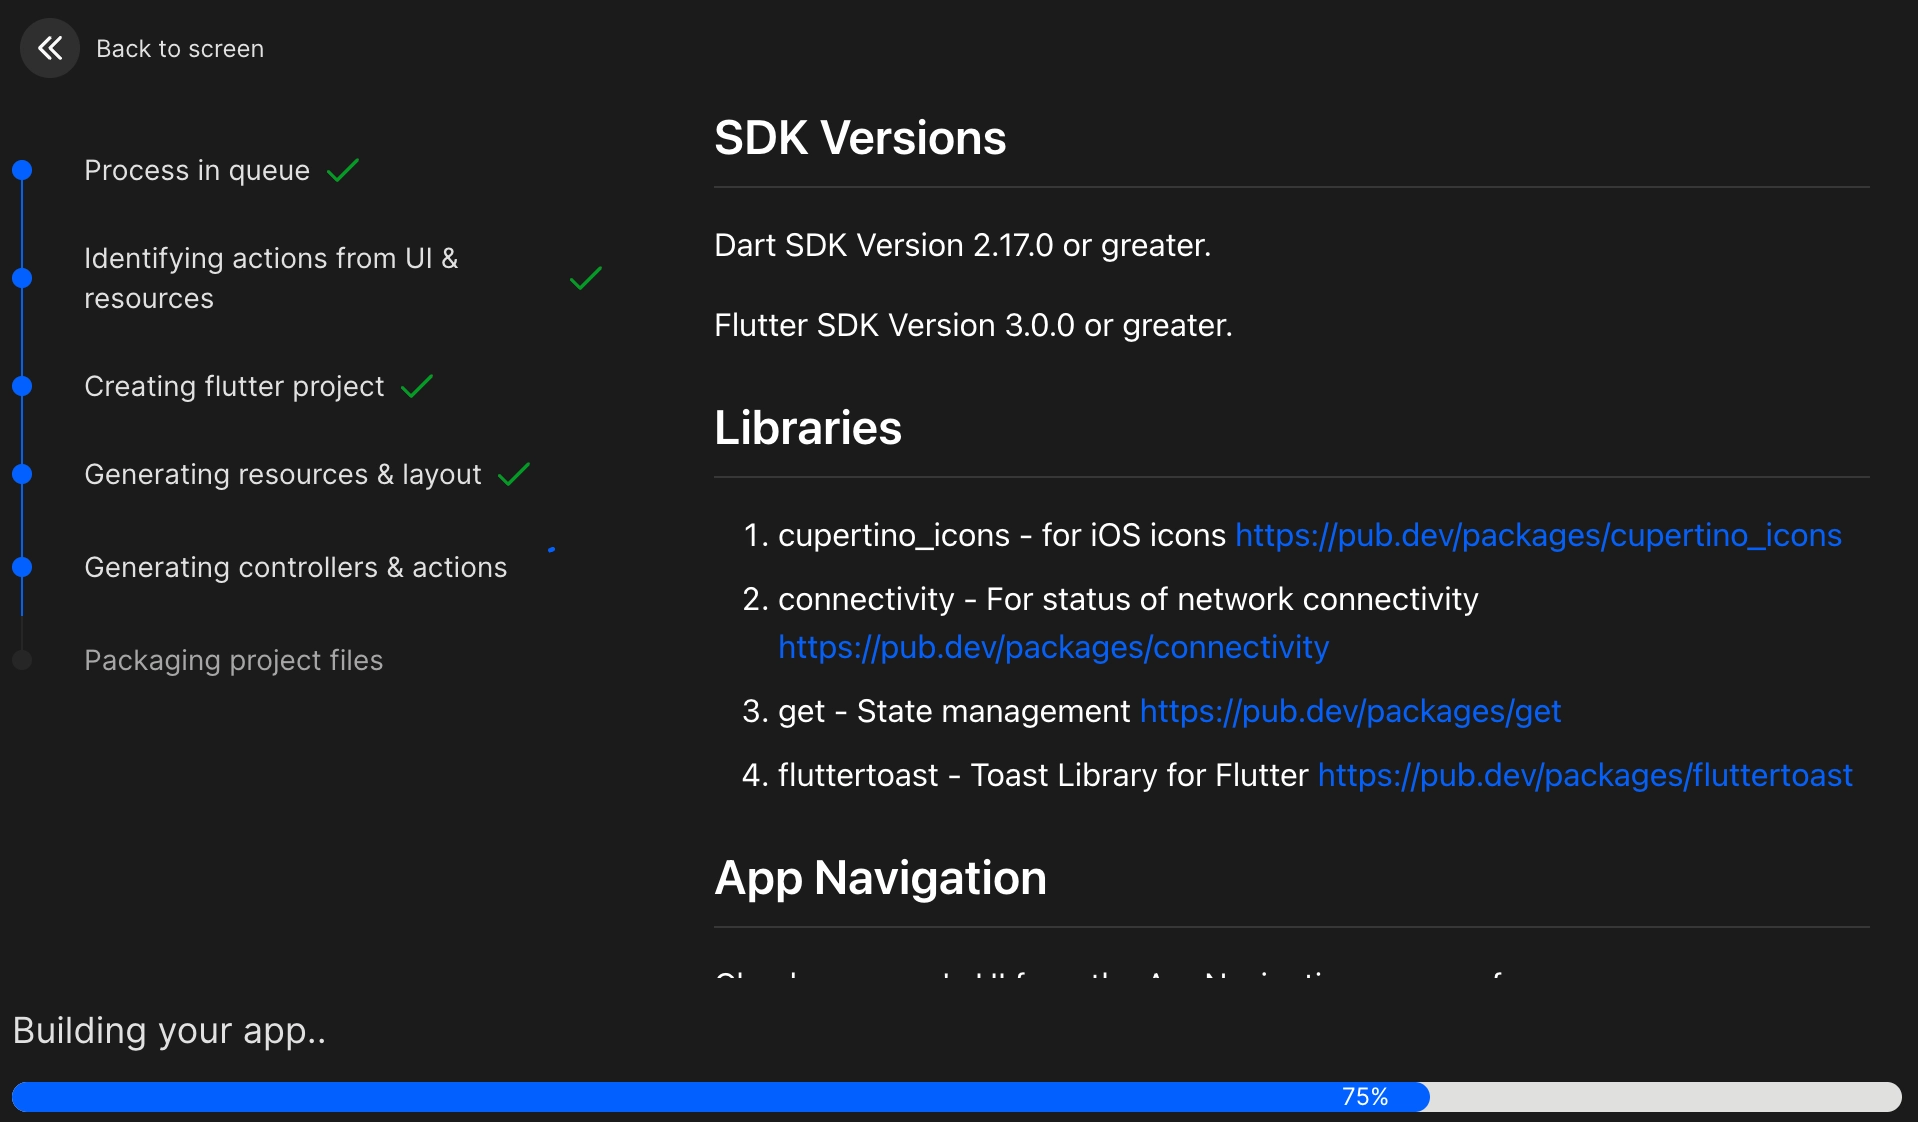
Once the code is generated, it will redirect you to the generated code screen.
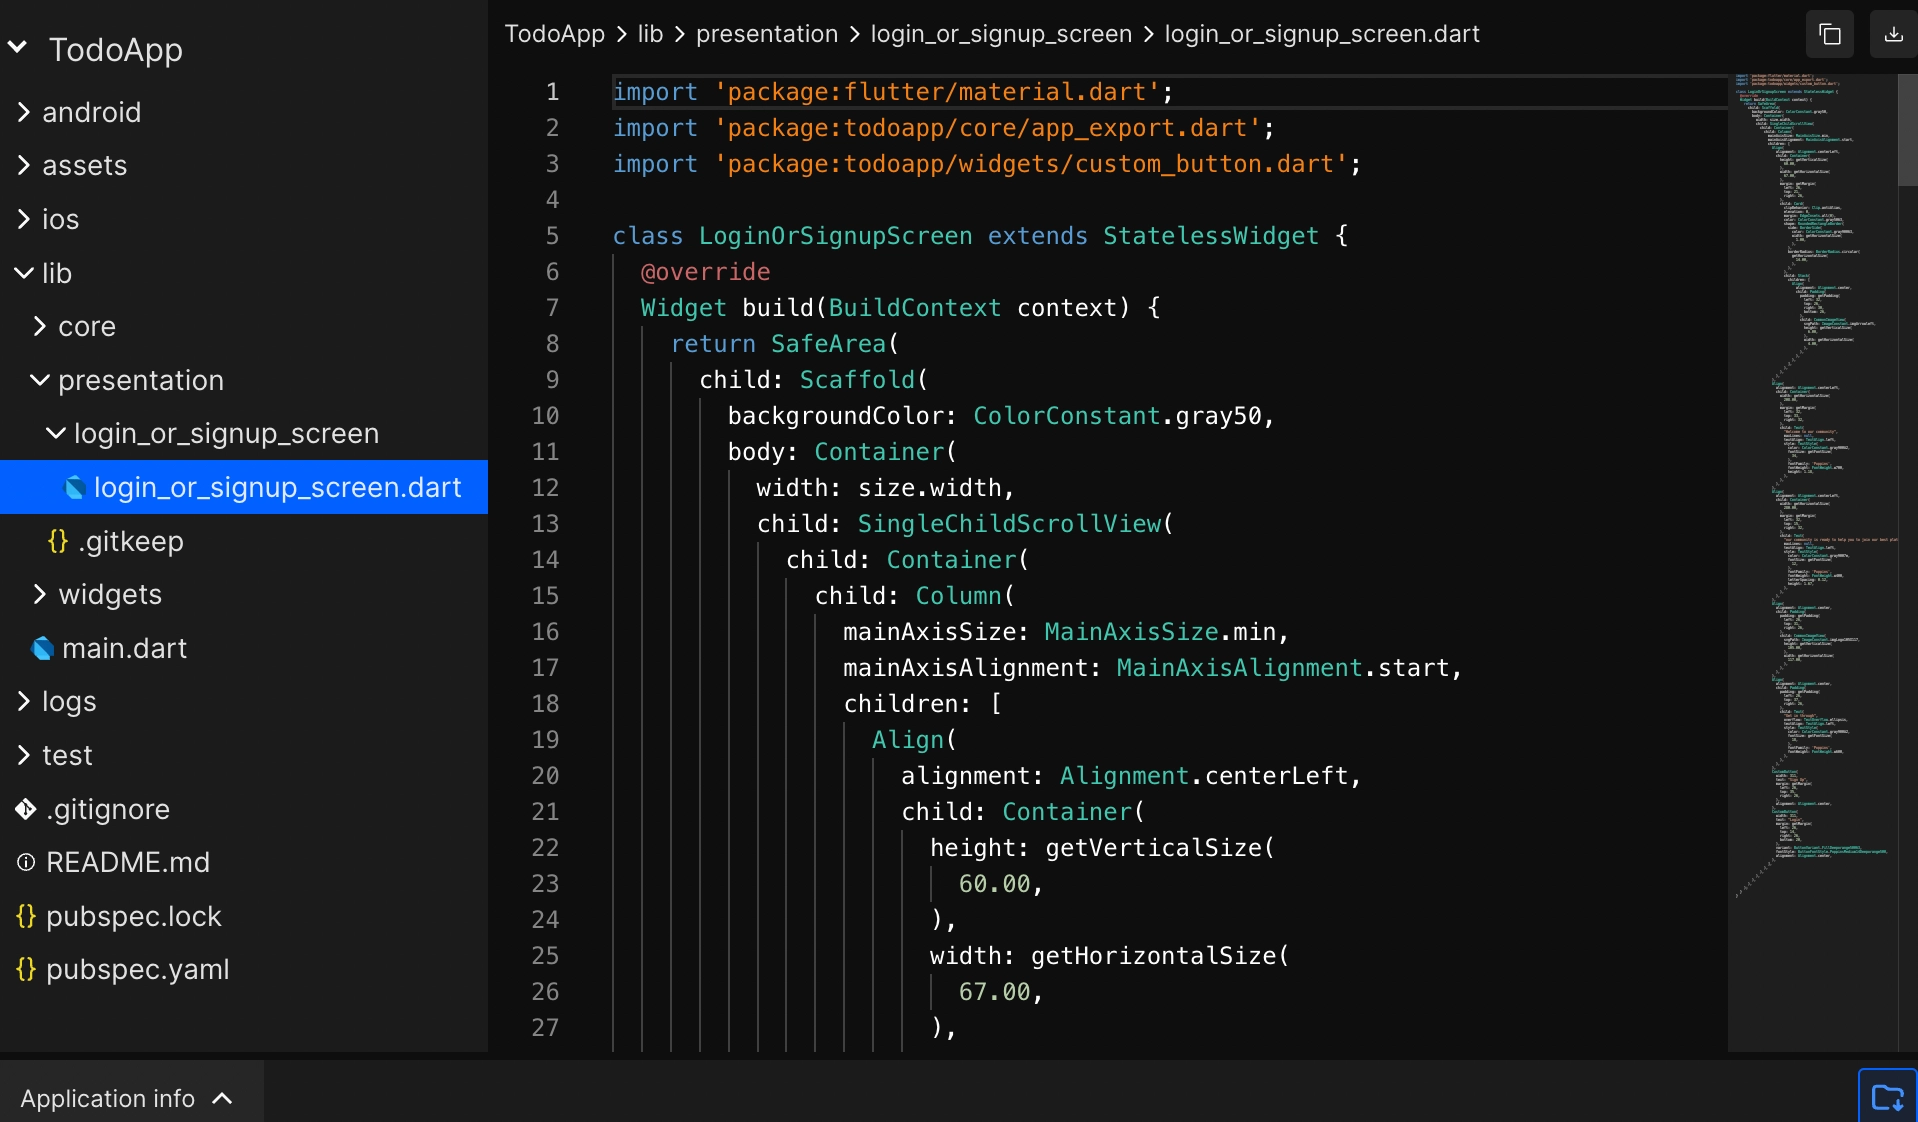
With our platform, you can create and preview your app for free. To download the code or sync code to GitHub/GitLab, upgrade to one of our paid plans.
Free Plan:
Live Preview: View a live preview of your app. (Build the app to check the live preview; it's the preview generated from executable code. Compare it with your Figma design or templates to check the design accuracy.)
Code Access: Review the code to ensure it meets your expectations. (Check folder structure and code quality)
Paid Plan:
Download Source Code: Access and download the complete source code.
Figma Plugin Integration: Build your app using the Figma plugin and download the source code from DhiWise platform.
VS Code Plugin Sync: Sync and manage your code effortlessly using the VS Code plugin.
Start by using the free plan to explore the features, and then upgrade to the paid plan to download/sync the code and take full ownership of your code and app.
While Configuring Screen
If you are inside a particular screen and wish to export code for the same, export code for single screen from screen Configure option.
Step 1: Select Export code option
Open the screen list dialog using the down arrow in the top-left corner, and click on the dots to open a menu, and select Export code.
Step 2: Select Code type
As you click on it, a popup to select a preferred code type will arise as below, you need to select one option and proceed ahead to export code with the preferred state management code/or without state management code.
GetX: Includes responsive UI, Stateless widgets, Custom reusable widgets, Models, Navigation and all the other integrations code with GetX state manager.
BLoC: Includes responsive UI, Stateless widgets, Custom reusable widgets, Models, Navigation and all the other integrations code with BLoC state manager.
Provider: Includes responsive UI, Stateless widgets, Custom reusable widgets, with Provider state manager.
Riverpod: Includes responsive UI, Stateless widgets, Custom reusable widgets, with Riverpod state manager.
Without state management: Includes responsive UI, Stateless and Custom reusable widgets code.
To start creating a Flutter app from the initial without any state management and only design code, choose Without state management (only widgets), and click on Build.
And if you want complete code with state management for your selected app screens, pick a preferred state management, and click on Build.
Step 3: Generate code
Once you select your choice, the selected screen code will start to generate;
Once the code is generated, it will redirect you to the generated code screen.
With our platform, you can create and preview your app for free. To download the code or sync code to GitHub/GitLab, upgrade to one of our paid plans.
Free Plan:
Live Preview: View a live preview of your app. (Build the app to check the live preview; it's the preview generated from executable code. Compare it with your Figma design or templates to check the design accuracy.)
Code Access: Review the code to ensure it meets your expectations. (Check folder structure and code quality)
Paid Plan:
Download Source Code: Access and download the complete source code.
Figma Plugin Integration: Build your app using the Figma plugin and download the source code from DhiWise platform.
VS Code Plugin Sync: Sync and manage your code effortlessly using the VS Code plugin.
Start by using the free plan to explore the features, and then upgrade to the paid plan to download/sync the code and take full ownership of your code and app.
Got a question? Ask here.