Sync Design Changes
With the Sync design changes feature, you don’t have to keep going back to look at your Figma designs or create a new app in DhiWise every time you change your design. Just with the help of a click, you can see all the updates right away. No need to switch to the design file for it; we have it all covered right here.
The Sync design changes feature doesn’t work with templates.
How to sync design changes from Figma design file?
In the editor area, look at the top-right for the Sync design changes button, which is located below the Build button. When you click on it, you will see two options:
Only current screen: Use this option to resync the design changes of the current screen only.
All the screens: Use this option to resync the design changes of the entire application.
Select the option that suits your needs, and the process will begin.
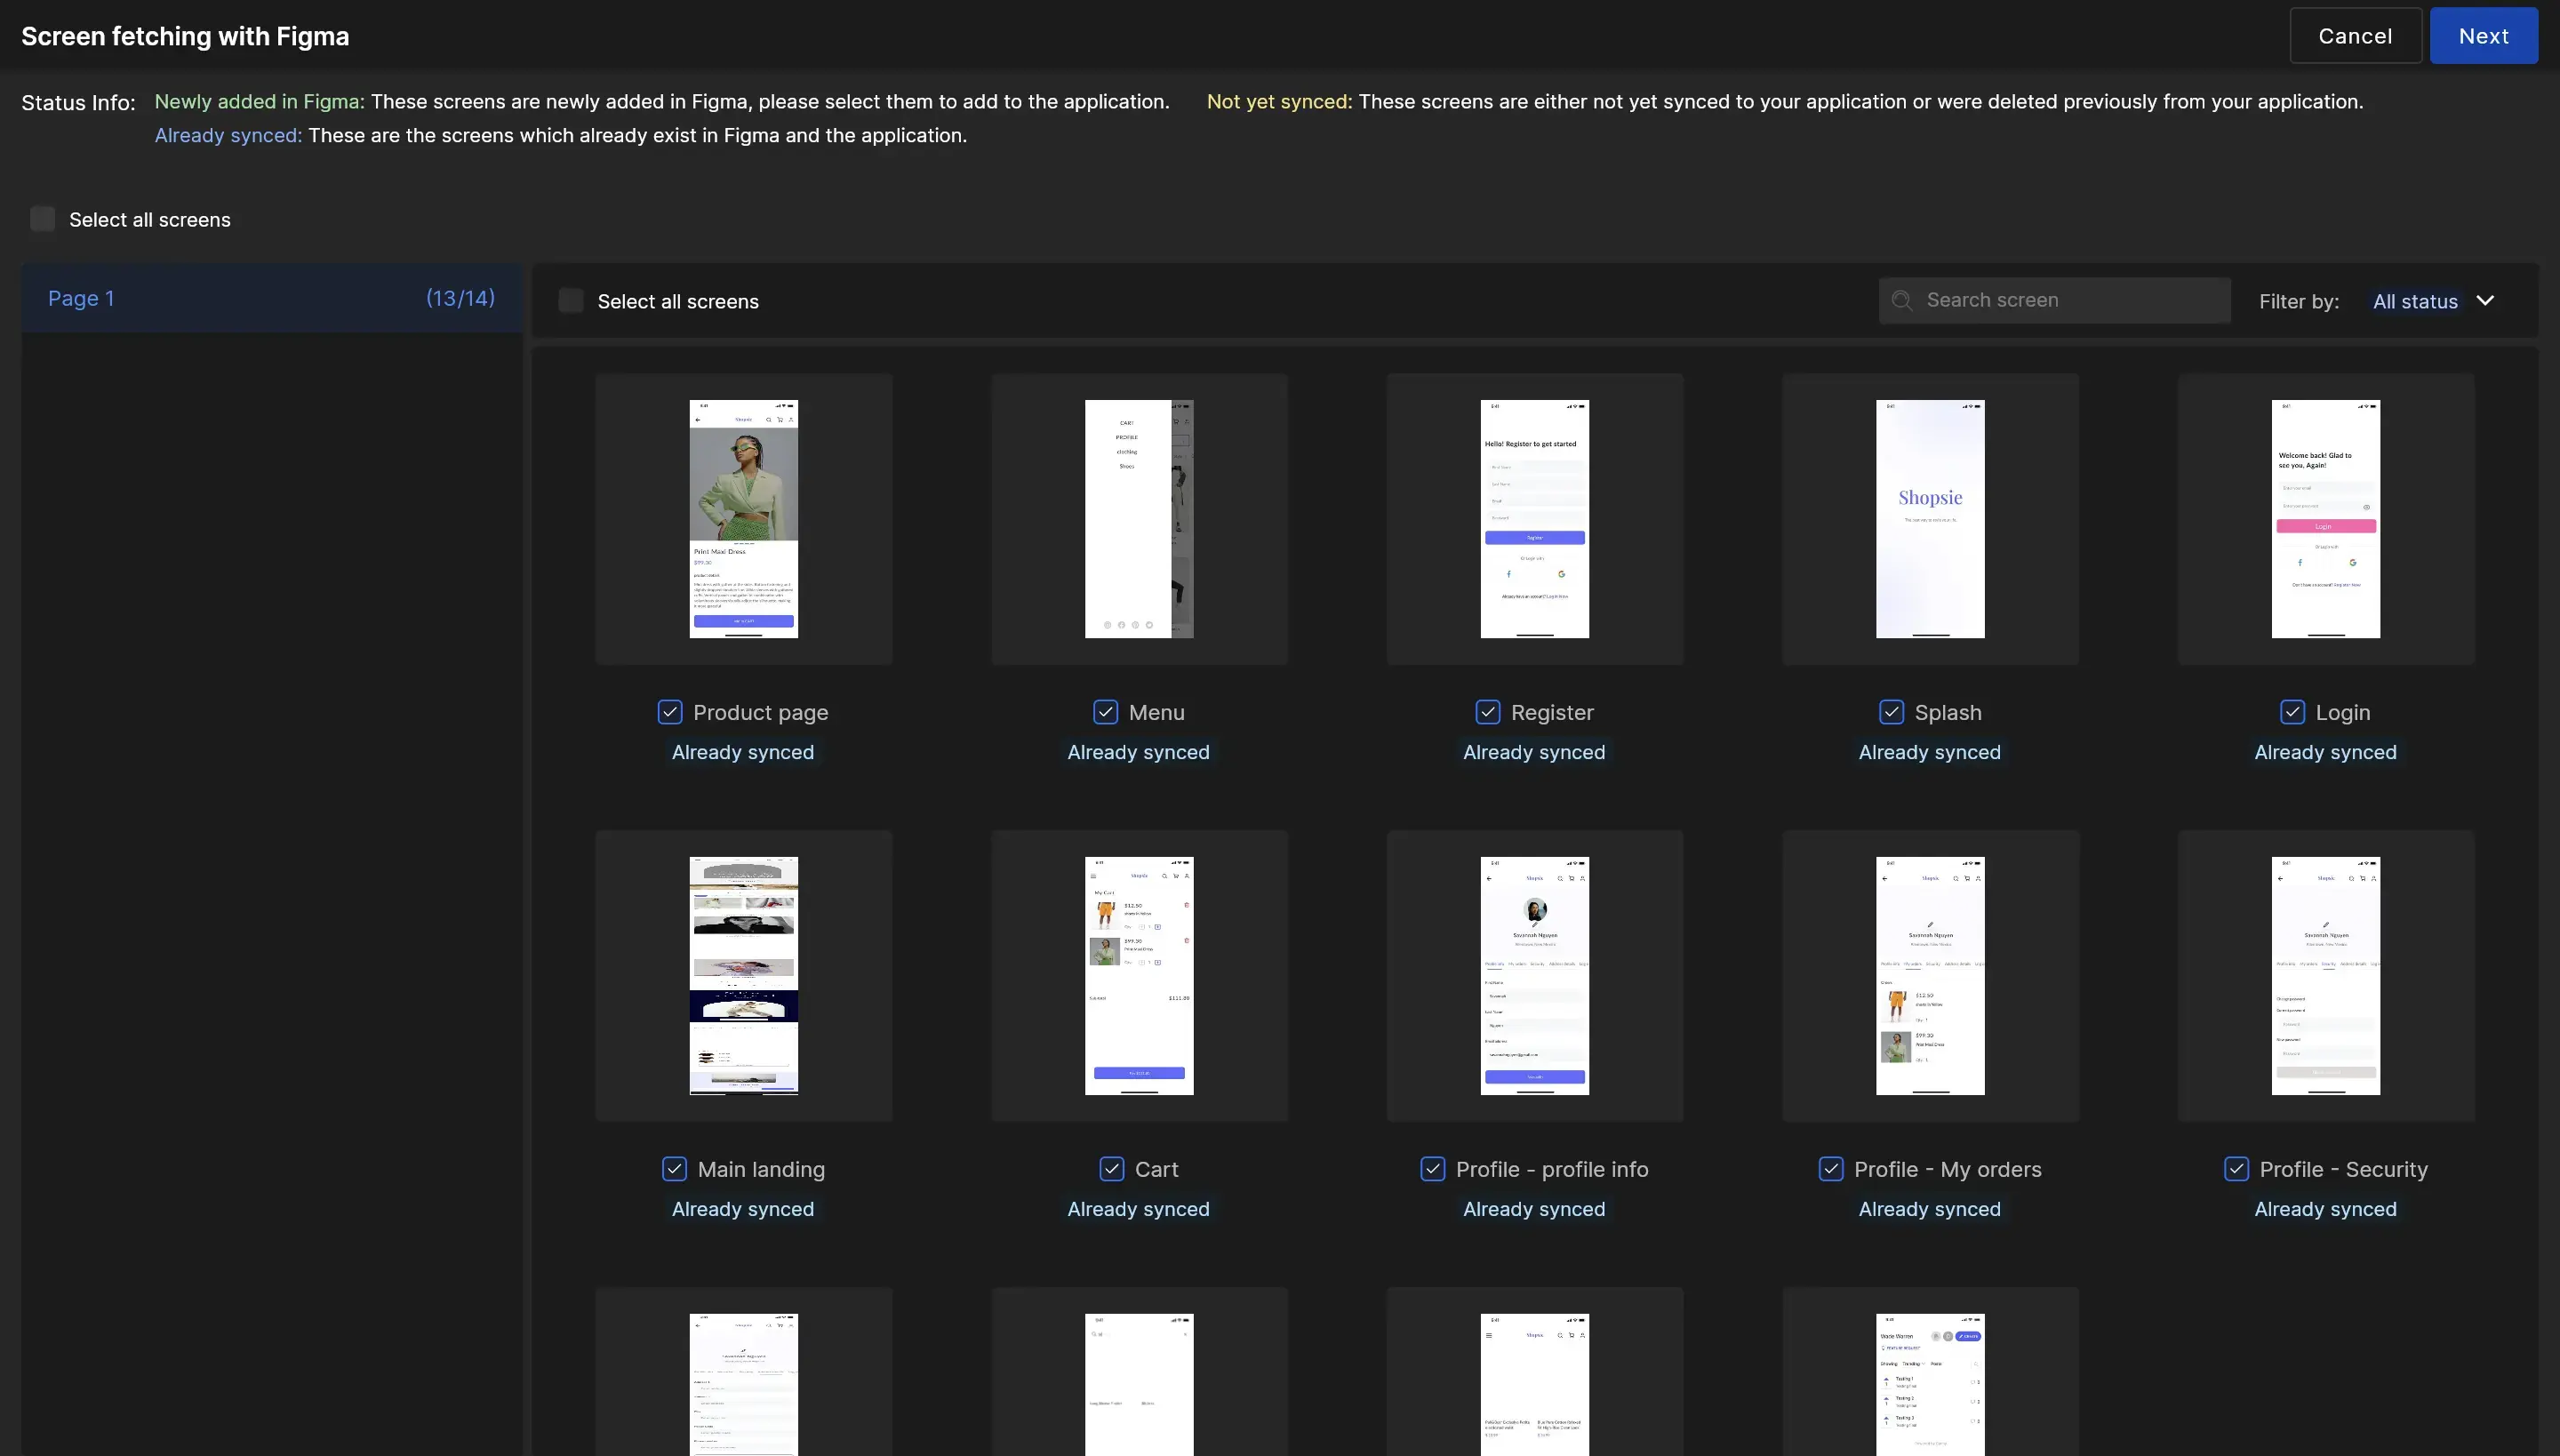
With the All the screens option, as it starts fetching the design changes, it will first display the screen details. This includes newly added screens, existing ones, and any that have been removed. You can easily add or remove them. Simply make your selections as needed and click Next to proceed with the screens.
Resolve design conflicts
When you click Next, the system will begin fetching your design changes. However, if there are any conflicts during this process, it will display the conflicts that need to be resolved before proceeding further.
Live preview of changes
Accept the changes fetched from Figma and integrate them into your app in DhiWise. Both the original and updated designs will appear side by side, similar to an IDE. You need to accept the changes as you would in a merge request. Additionally, you will see the resulting file and a live preview of the design changes on the right.
Lastly, click Apply, and the design changes from the Figma file will be updated in your application.
Save a named version of the design changes in Figma file
Creating a named version of Figma file helps to use the latest design version. This helps in resyncing your design changes properly.
Add a newly named version of your Figma file. Open the Figma menu, and select Save to Version History.
Add a title and description for your new version and summarize your changes.
Example Title: “Splash screen added”
Example Description: “A new version has been added for Splash screen.”
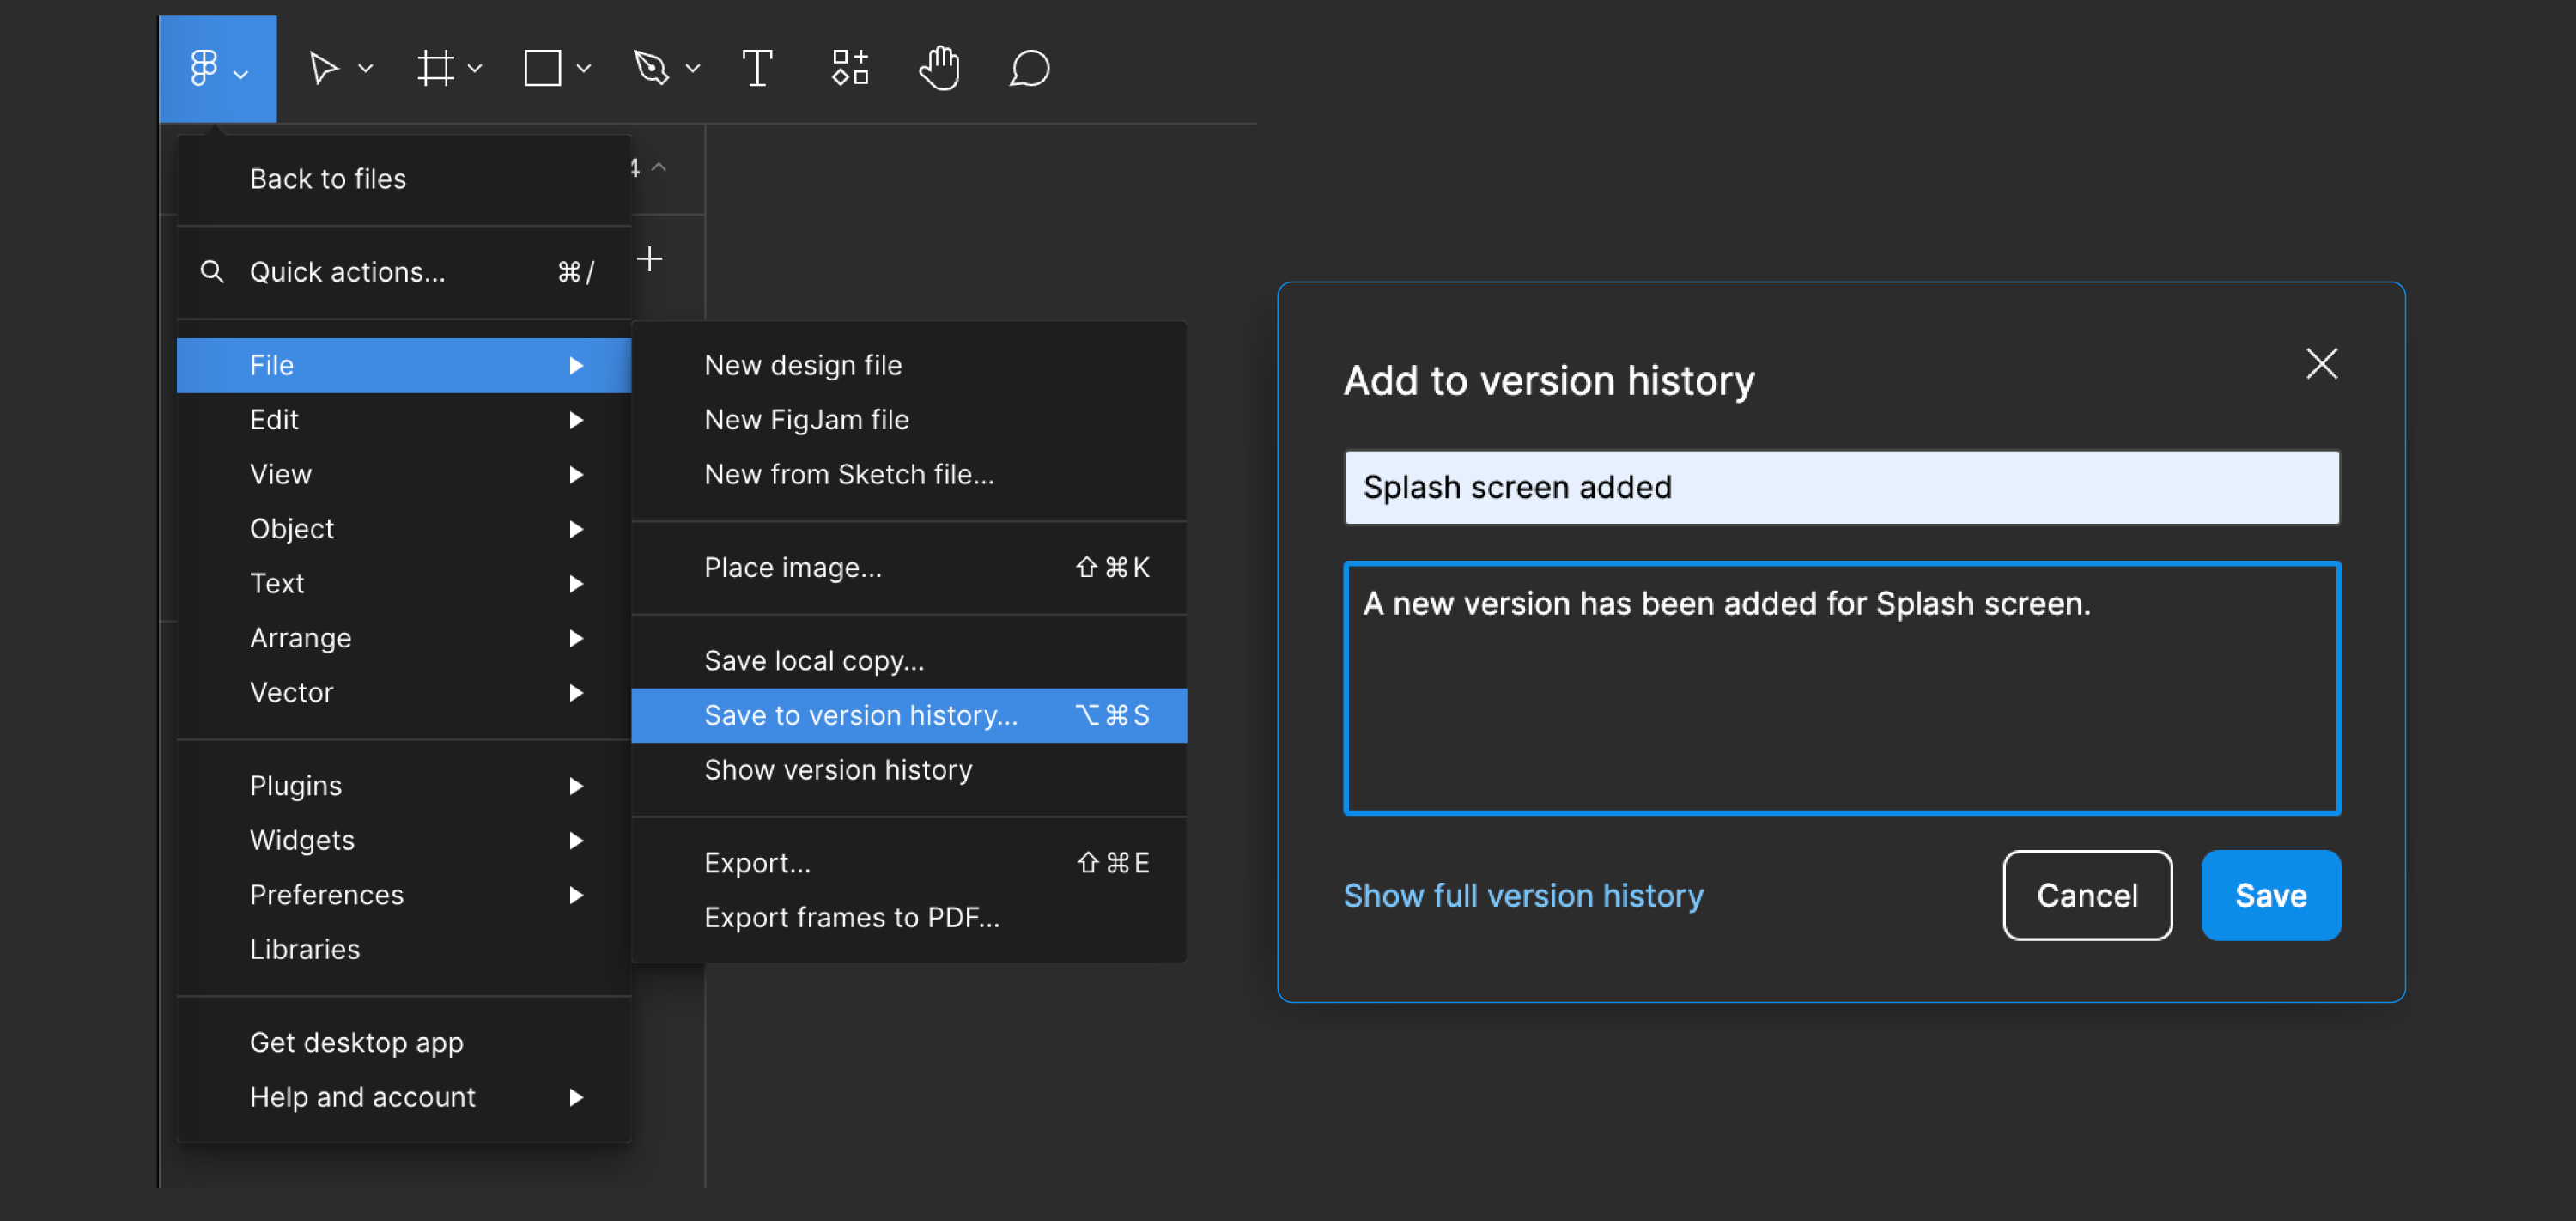
Click Save to create a new version.
Now, return to DhiWise and initiate the
Sync Design Changesprocess again. This action will apply the latest updates from your design to DhiWise application, ensuring your app reflects the most recent changes.
Got a question? Ask here