API Integration
APIs play a vital role in making an application interactive. An application has to integrate a number of different APIs into it for its different functionalities to work. With DhiWise, set up these APIs easily for your application.
Add APIs
To integrate APIs you require an API for your application in DhiWise, to use the same and set it up. Add APIs manually or import your Postman collection in DhiWise.
Set up APIs
Integrate API on tap of screen's widget easily using the following steps:
You can also integrate APIs in onReady lifecycle method. Learn more.
Select screen
In your DhiWise application, select the screen from the screen list or choose Configure option for a particular screen, in which you want to set up an API.

Select widget
Now, as you open the screen in detail view, switch to the widget on which you want to integrate an API, add onClick property for setting up action and choose API integration from the actions list, as shown below.
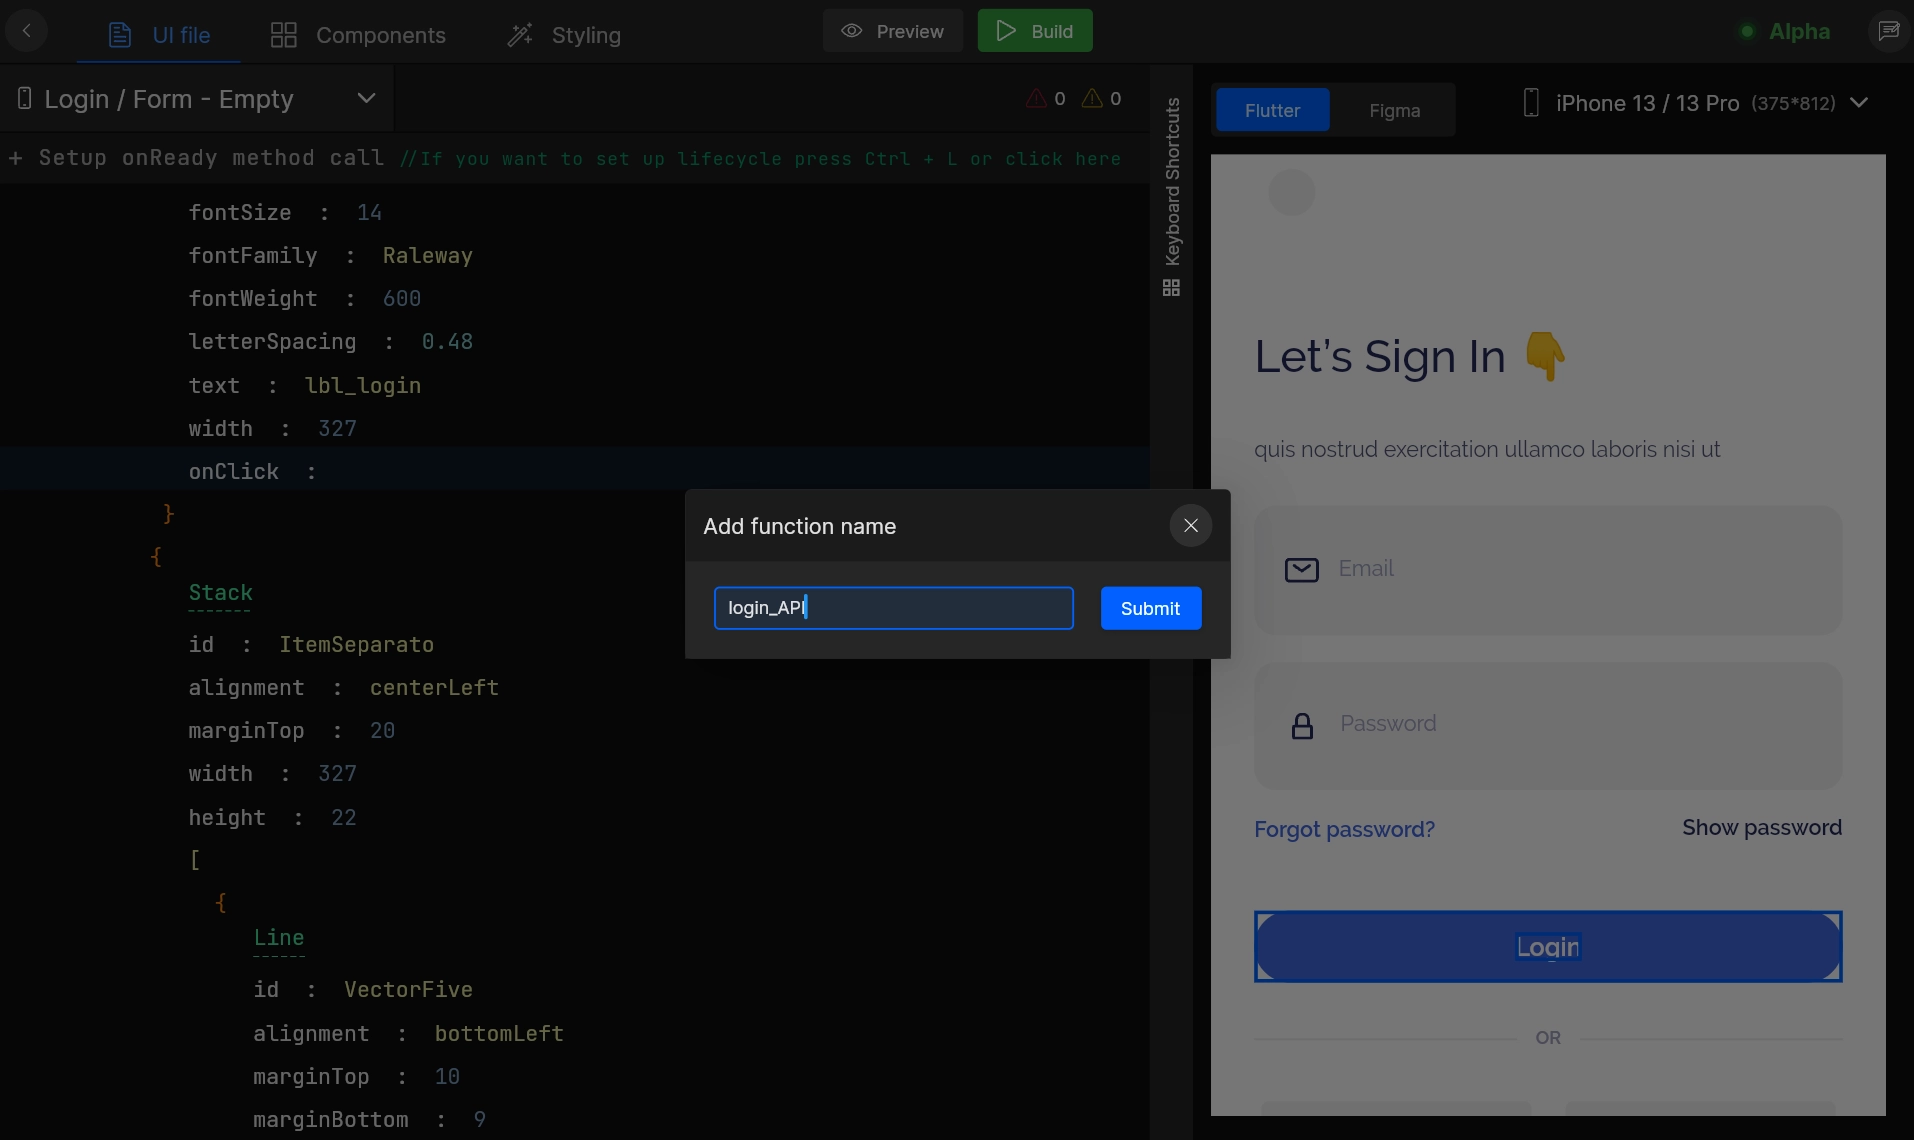
Set function name
As you choose API integration action, firstly it will ask you to submit a valid function name for your API integration which will be generated for your screen code.
Select your API
Select an API that you want to bind with the selected widget or lifecycle method, from the list of APIs added in DhiWise.
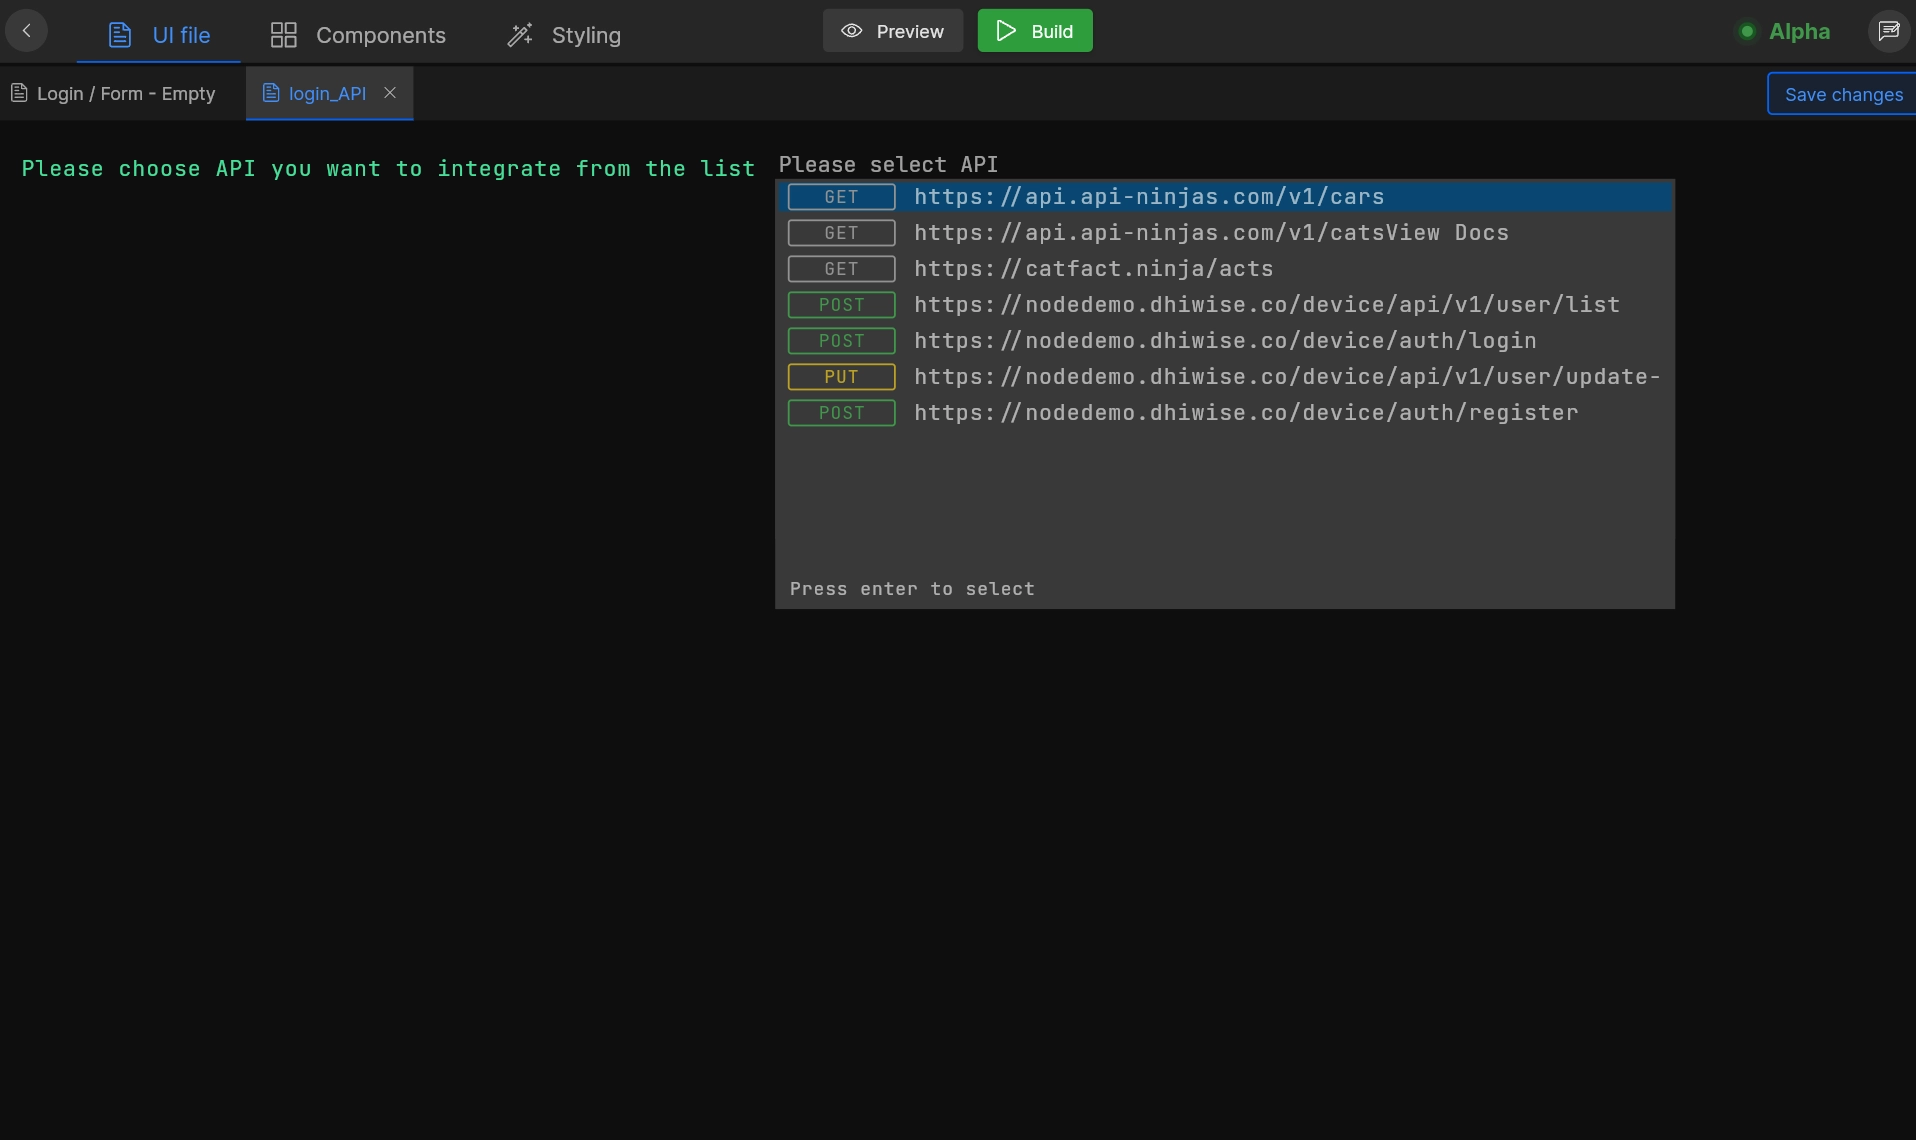
Now as you select the API, three following required steps are needed to be set up to complete your API integration.
Step 1: Handle Request
Header and Params
Set your API’s Header, Parameters, and Body by switching to Handle request area. Headers and Parameter values will be the same as you have added while you add your API. Easily modify them if you want to change or add new values here.
Body
Switch to Body property and bind your request key with any of the below supported types to send data to your API request.
You can bind request keys with TextFormField only.
| Type | Description |
|---|---|
| View | Screen's widget or view component |
| Constant | Application app constant Learn more |
| API response | Priorly saved API response |
| Get from preference | Stored value from preferences |
| Navigation argument | Saved argument while navigation Learn more |
For "API response", you can bind the response of previously called API or social auth response i.e. of Google or Facebook.
Step 2: Handle Response
Bind Response with View
Bind the response values with the views of your screen when you need to display the response coming from the APIs. Select the key from the response, select View from the options, and select the view in which you need to display the response from the right.
You can bind response keys with the views like ListView, GridView, Text, TextFormField, Image, Slider etc.
For example, when the user logins into an app and want to display the user profile details like email, name, and profile picture, just select the available keys from the API response and bind it with the text and image where it can be displayed, as shown below.
Bind Response with ListView/GridView or Slider
Load data in your screens by binding the response body such as an array with the ListView/GridView or Slider view.
For a single cell of the ListView/GridView or Slider, you can easily bind its details as shown below.
Save Response to Preferences
While handling your response data, save them to preferences by selecting the response key and giving it the desired name.
Select the key you want to save from the response, select Save to preference from the options, give the key a name you want to save with, and click on Save changes.
Step 3: Handle Actions
Handle and choose what to perform on the success and failure methods after the API call in Handle action area.
On success and error actions
DhiWise considers response code of 200 for a successful API call.
Select an action you want to execute on these methods from the actions list and set it up accordingly with the required inputs. Actions supported on these methods are:


Click on Submit and your API is integration is done.
Got a question? Ask here.