Navigation
Navigation makes applications more interactive, which helps users navigate in, out, and across the app. Add all such navigation to your React app in a few simple steps by following the below steps.
Add Navigation
Step 1:
Select the page from the page list on which you want to add the navigation action.
Step 2:
Next, go to the view component you want to add navigation to and right click on the component and click on Create Action.
Step 3:
From the list of actions, select Navigation.
Step 4:
Next, you will have to select the type of Navigation, from the below supported types;
| Type | Description |
|---|---|
| Page navigation | Navigate to a specifically selected page from the application’s page list |
| URL navigation | Provide an external link and navigate to it |
| Page Section navigation | Navigate to a specifically selected section of the page |
Step 5:
If you are selecting Page Navigation you will have to select a page to navigate, select it from the drop down.
Navigation with arguments
Share data between two pages, in a few simple steps, while navigating from one page to the other.
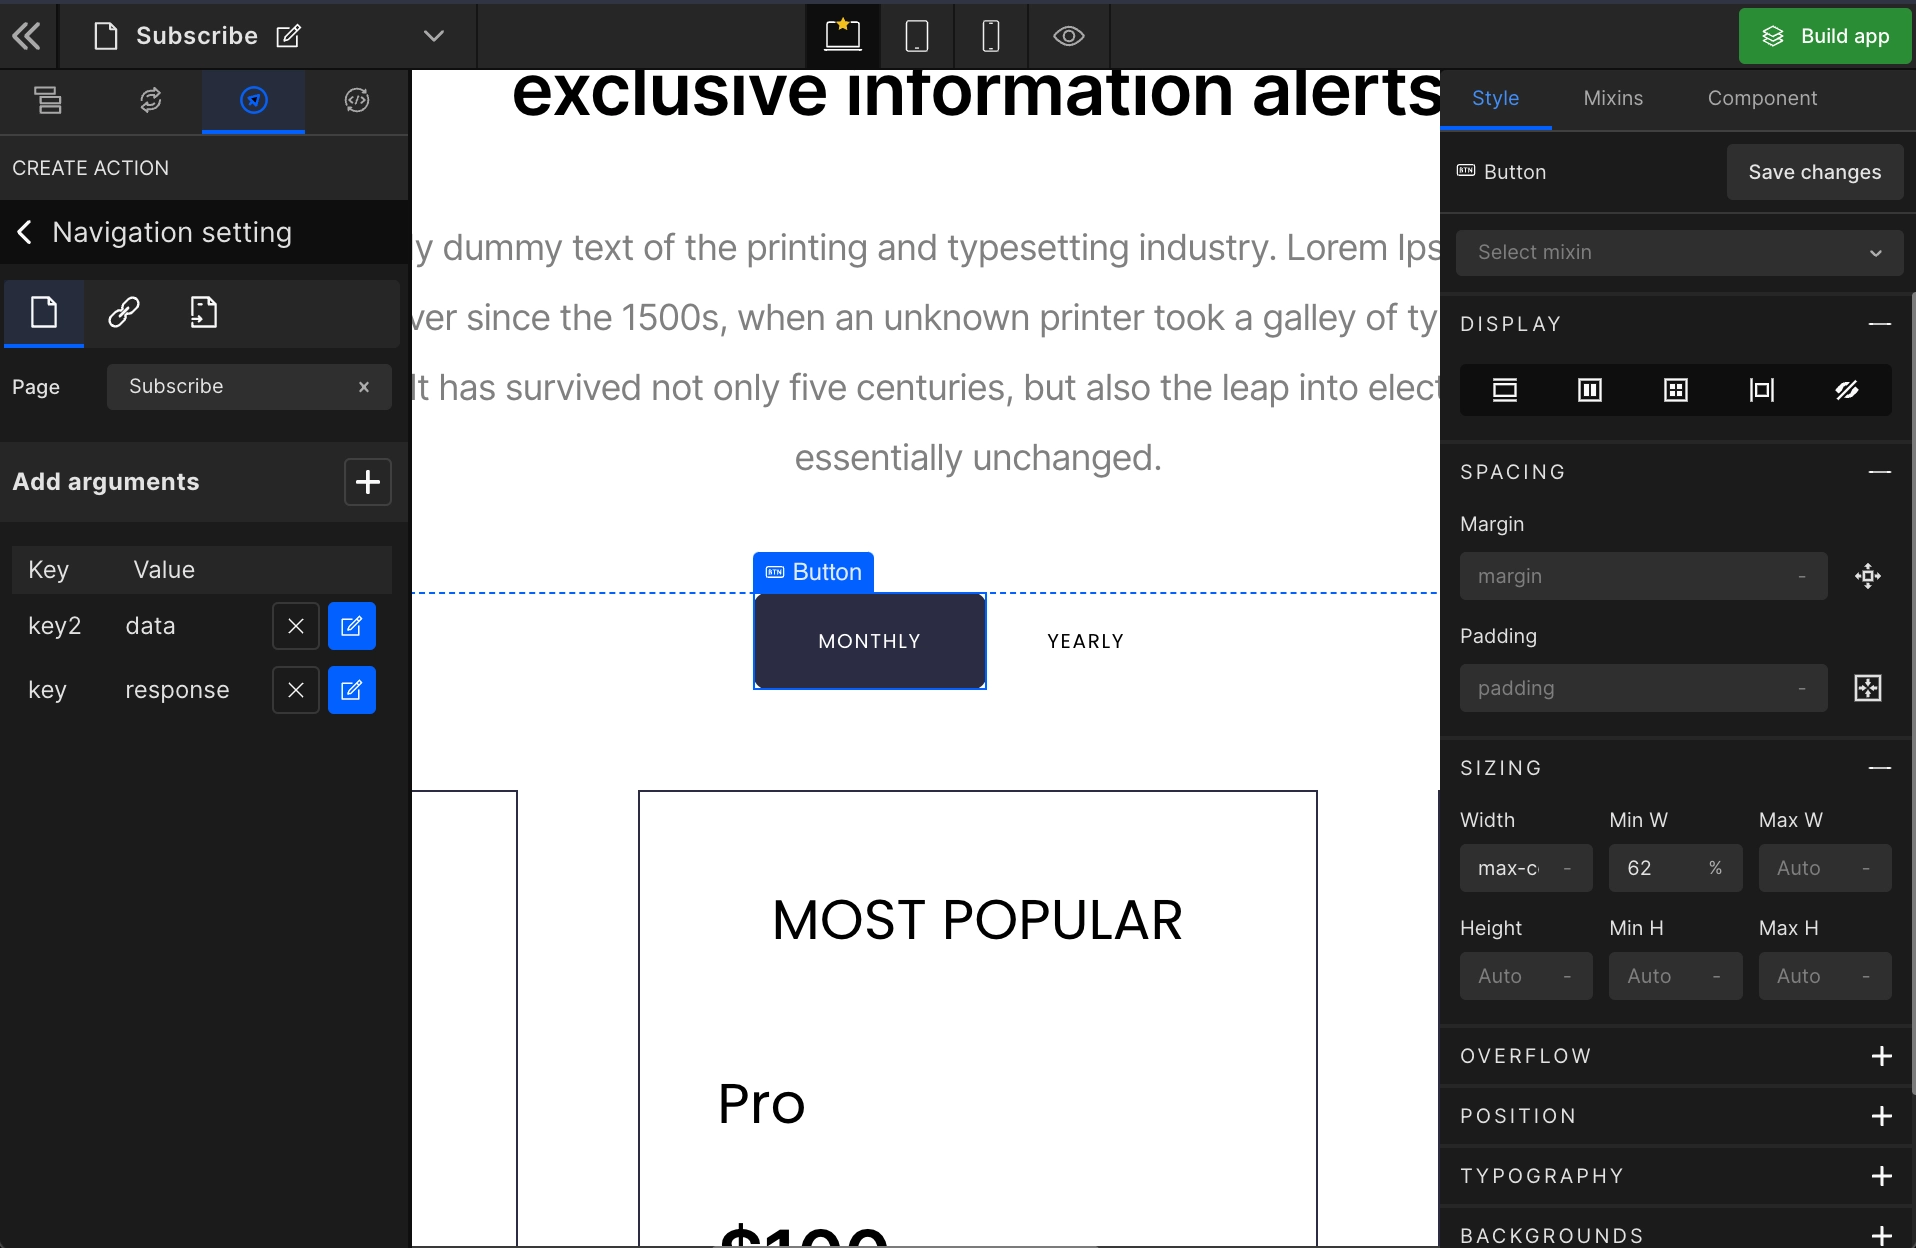
Step 1:
Firstly select the page to which you want to navigate and then click on Add Arguments + here you need to Enter key which will be passed as an argument. The key is used as a name for an argument to declare it in your code.
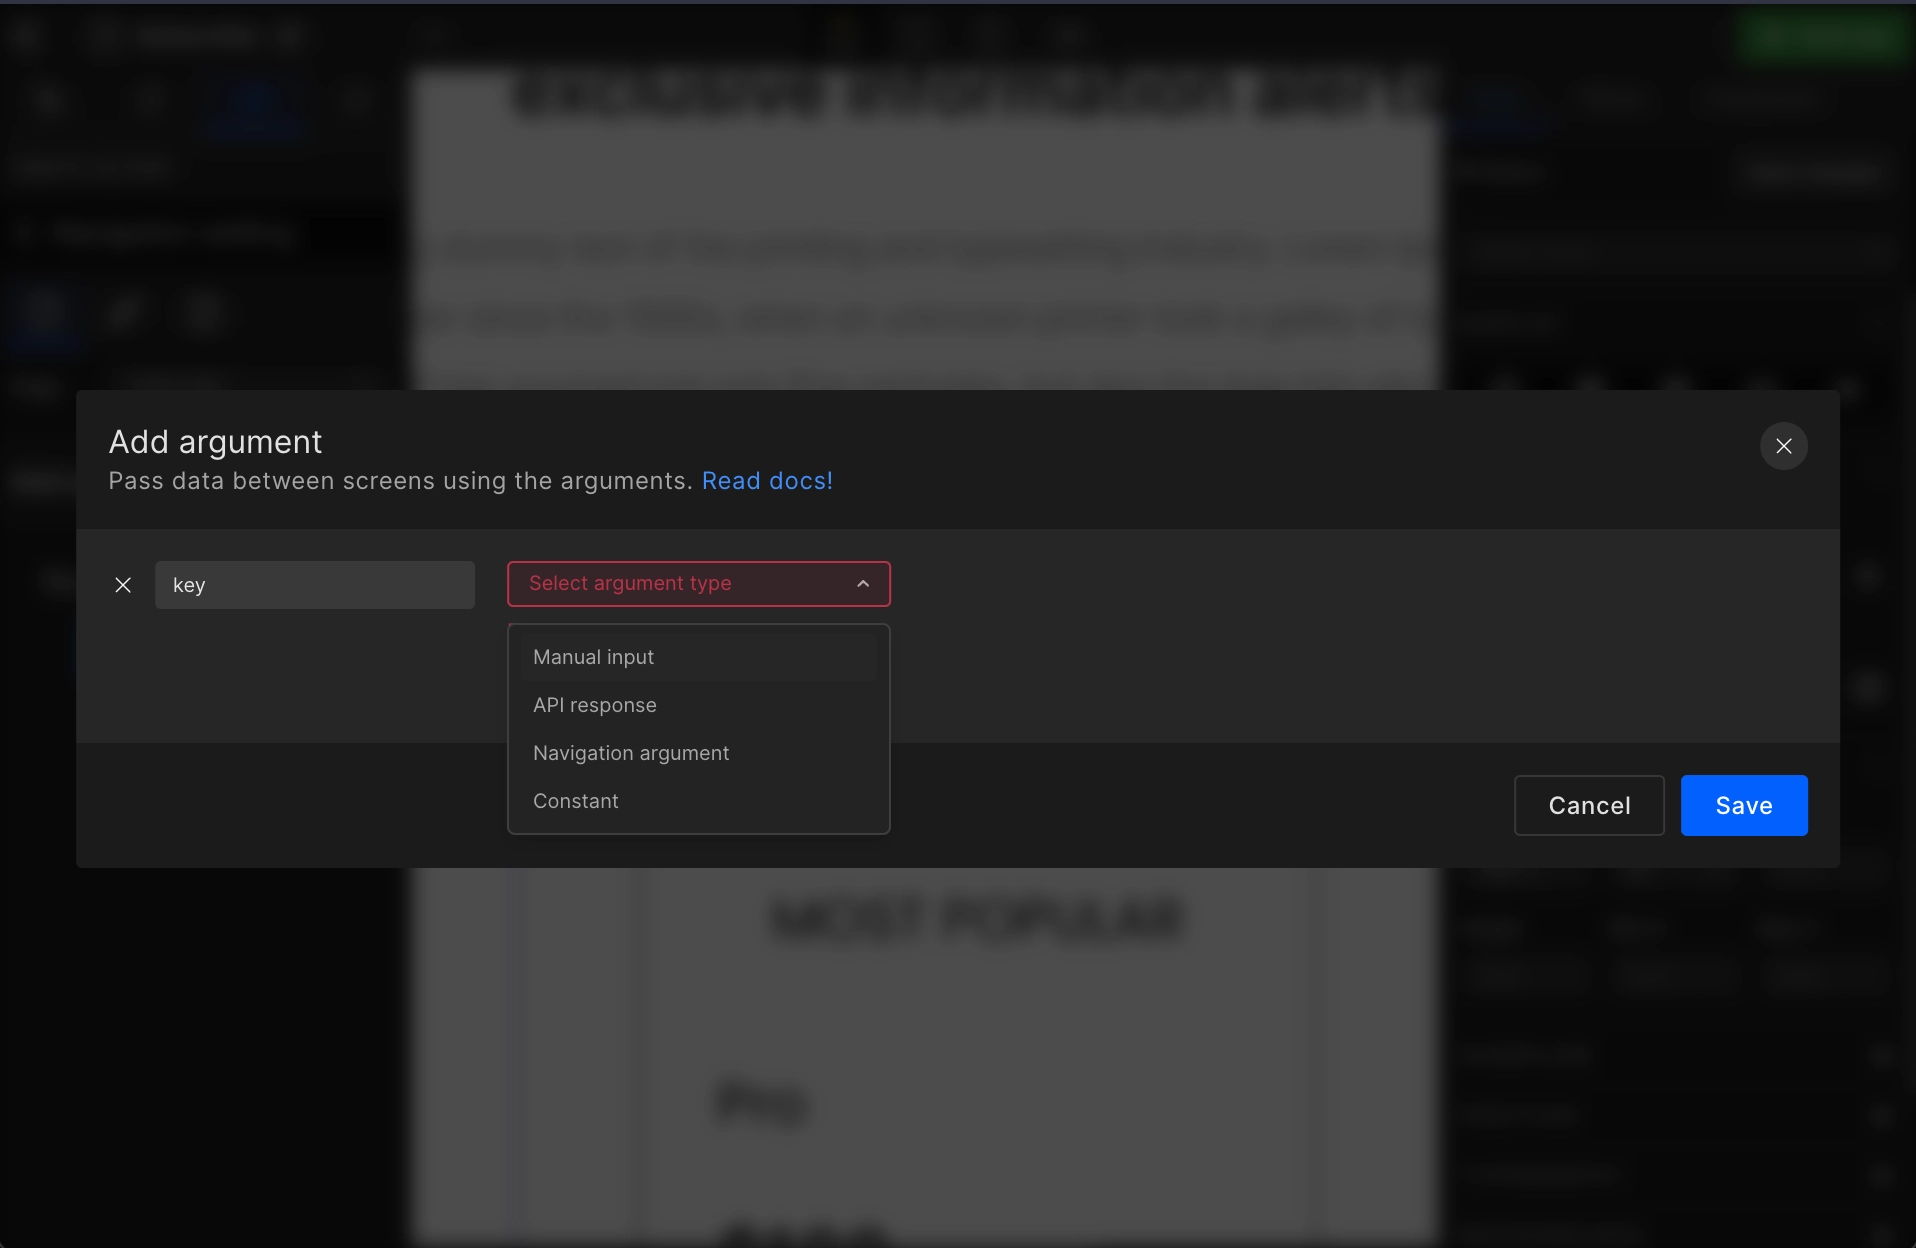
Step 2:
Next you need to select the type of argument you want to bind with navigation from the following:
| Type | Description |
|---|---|
| Manual input | This option allows you to enter a custom value into your navigation argument. |
| API response | If your current page has API integrated which is receiving data in response that you can share that data to the page you're navigating to via API response. Learn more |
| Navigation argument | If the current page already has a Navigation argument set up. Then you can pass that same data to the page you're navigating to. |
| Constant | If you have added constant files, then you can pass the constant data to the page you are navigating to. Learn more |
Step 3:
If we go with API response you will be asked to Select API from the APIs integrated on the current page.
Learn more on how to add new APIs to your application.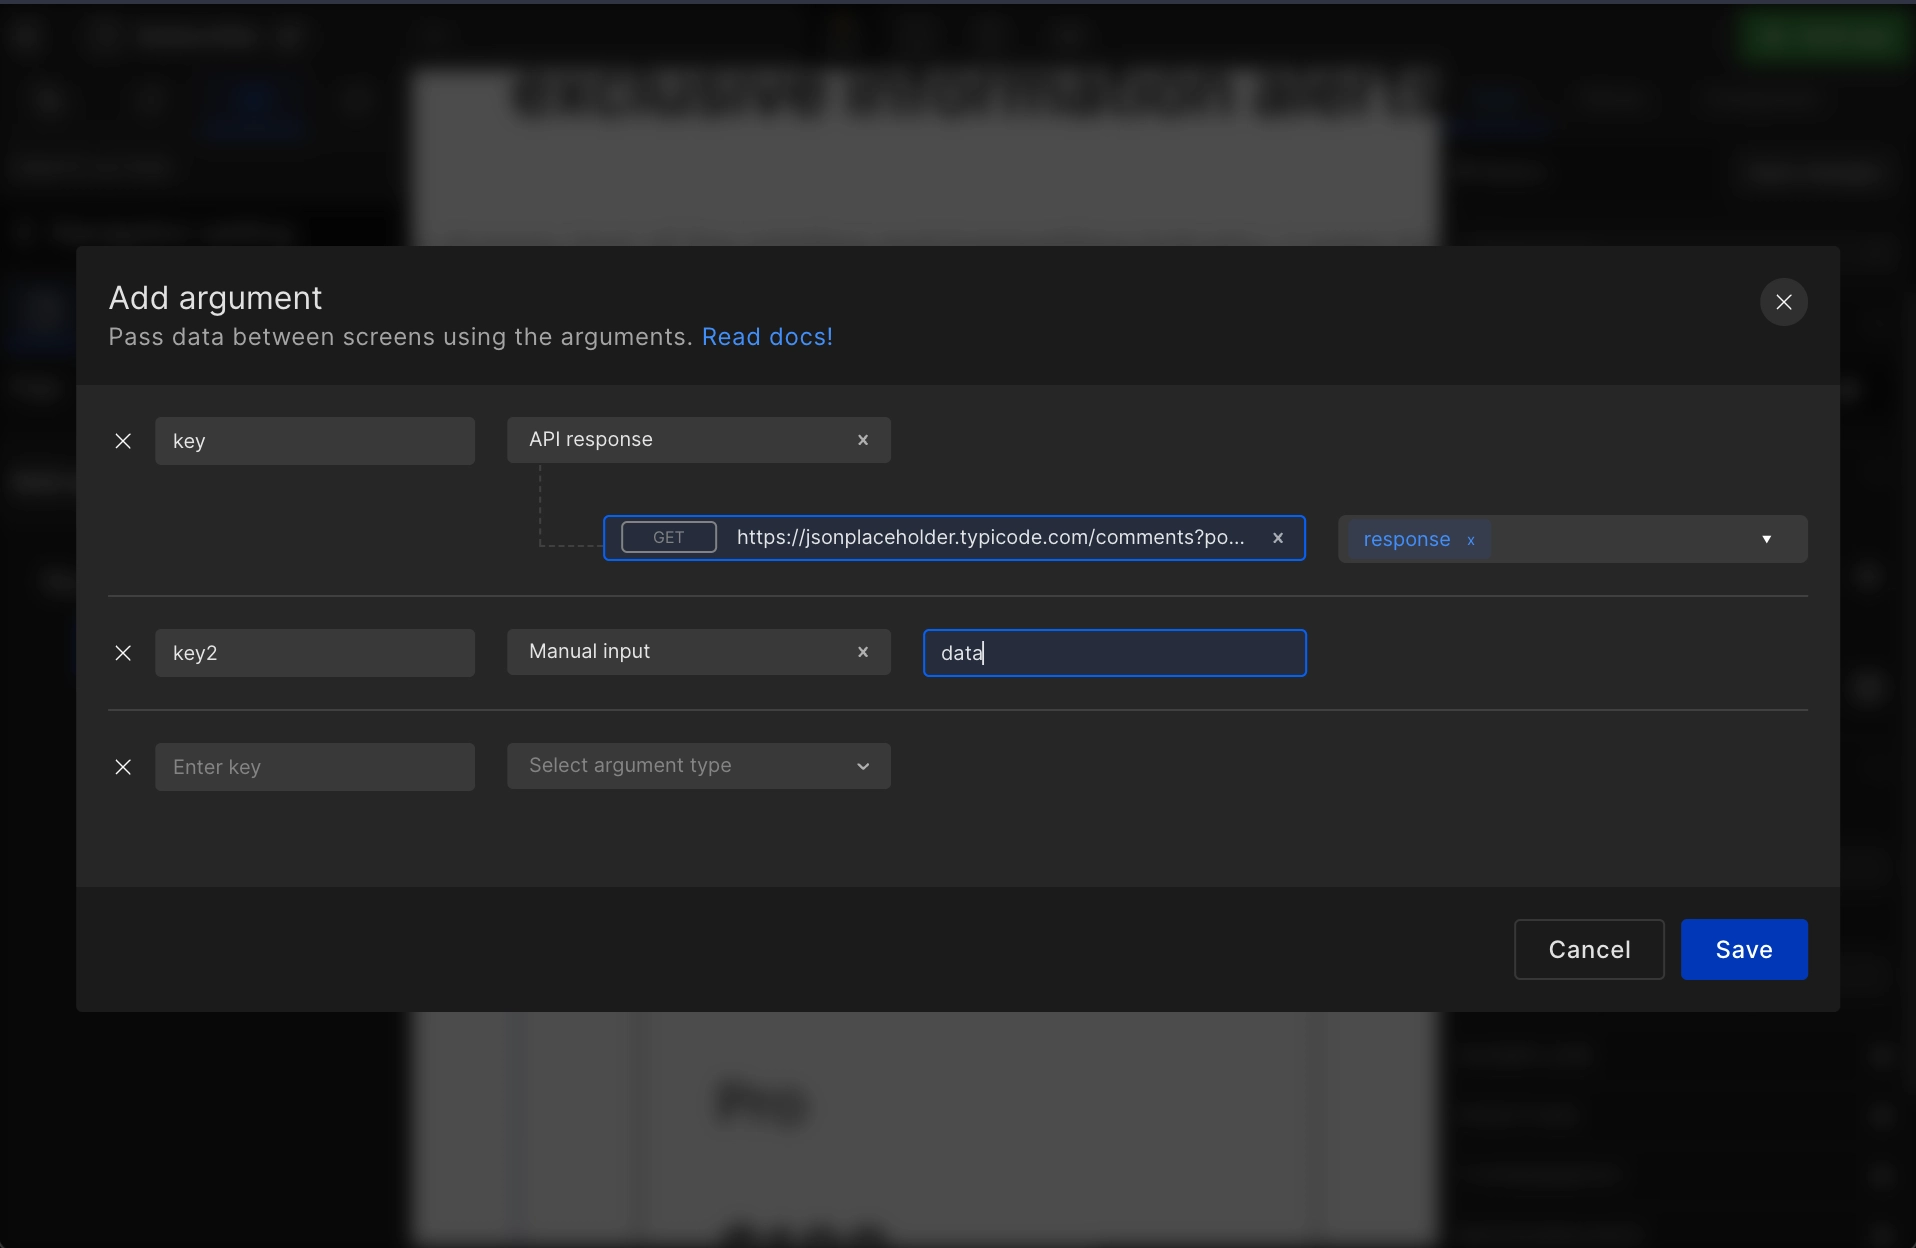
Step 4:
Next, you need to Select API response from the selected API. Choose the response key to bind with your argument from the list, and click Save. However, you can also bind multiple keys in your argument.
Back navigation
Navigate back to the previously visited pages of your application using back navigation.
Step 1:
Select the page from the page list on which you want to add the navigation action.
Step 2:
Next, go to the view component you want to add navigation to and right click on the component and click on Create Action.
Step 3
From the list of actions, select Back Navigation.
Got a question? Ask here.