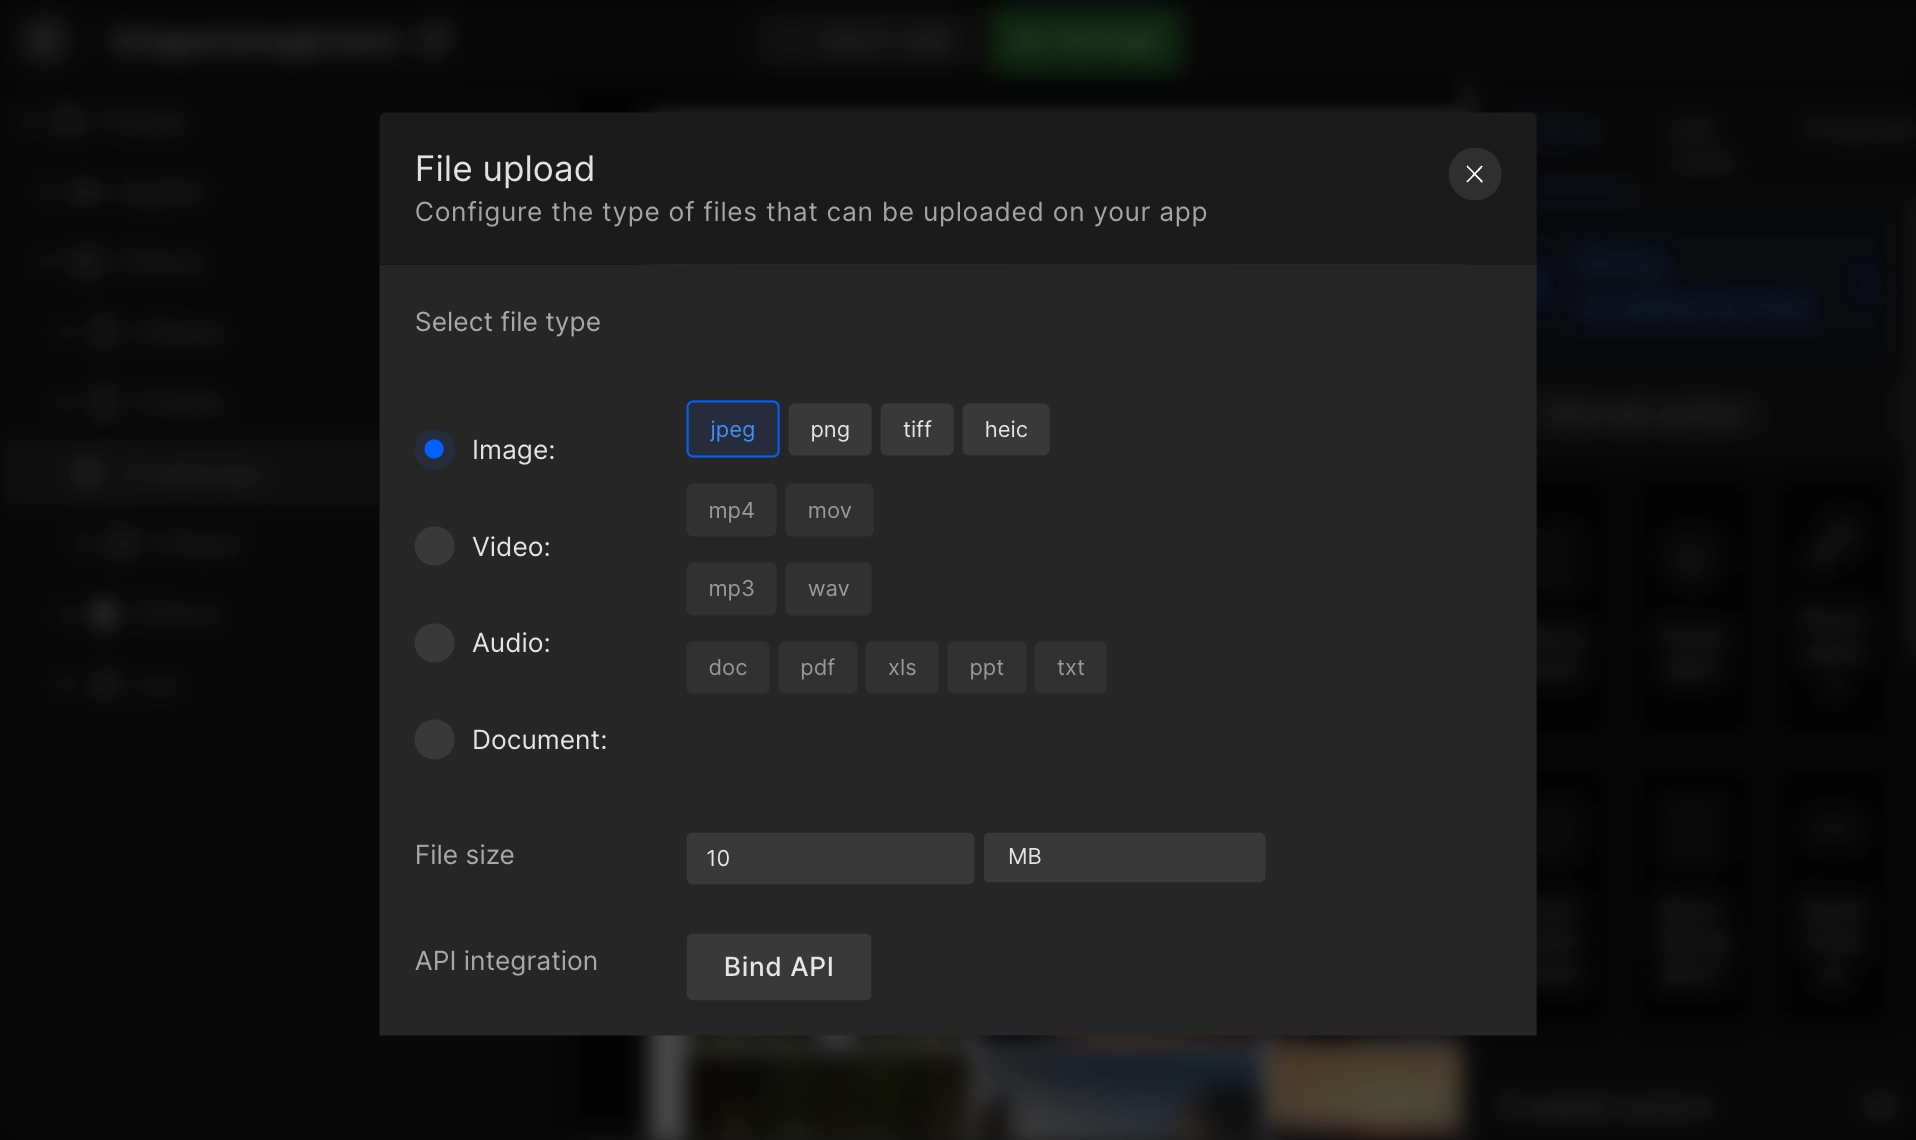
File Upload
Upload files you wish in your app by setting up file upload in a few easy steps in DhiWise.
caution
The upload file API is required before your start API binding
Select the file and data type
Bind API
Integrate the file upload API. However, the API should already be added.
Step 1:
Only the upload file API will be available in the list
| Header | Content-type multipart/form-data |
| FormData | Selected file or constant |
Step 2:
Handle API response
| Key | Give the key a name |
| Select type | View or save to preference |
info
View: Select the view to which you want to show this API key's data. You will get the code with API response variables assigned to this view's value.
Save to preference: The data will be saved in the API response
Step 3:
Select response for on-success or failure. The responses can be from Navigation, Show Alert, or API Integration.


Generated code snippet
fileUpload.swift
@StateObject var exampleViewModel = ExampleViewModel()

.actionSheet(
  isPresented: $exampleViewModel.isActionSheetShow,
  content: {
    ActionSheet(
      title: Text("Choose"),
      buttons: [
        .default(
          Text("Camera"),
          action: {
            if UIImagePickerController.isSourceTypeAvailable(.camera) {
              exampleViewModel.pickerSource = .camera
              exampleViewModel.isImagePickerShow = true
            } else {
              exampleViewModel.showAlert("Error", "Camera is not available!")
            }
          }),
        .default(
          Text("Photo Library"),
          action: {
            exampleViewModel.pickerSource = .photoLibrary
            exampleViewModel.isImagePickerShow = true
          }),
        .destructive(Text("Cancel")),
      ])
  }
)
.sheet(
  isPresented: $exampleViewModel.isImagePickerShow,
  content: {
    MediaPicker(sourceType: exampleViewModel.pickerSource, mediaTypes: ["public.image"]) {
      image, url in
      if let image = image {
        exampleViewModel.selectedImage = image
        DispatchQueue.main.asyncAfter(deadline: .now() + 0.5) {
          exampleViewModel.createUpload()
        }
      }
    }
  })
Got a question? Ask here.