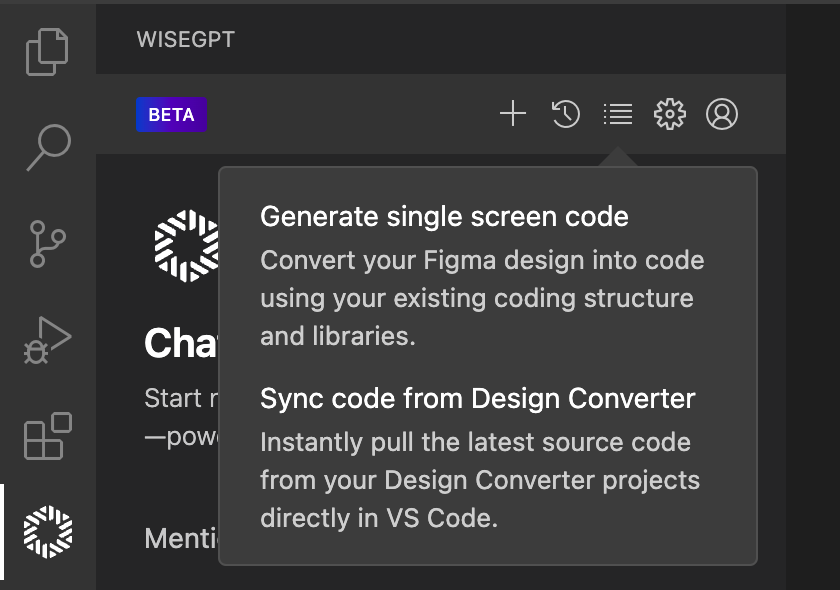
Generate single screen code
Introduction
Coding Assistant analyzes your project's source code and library usage to generate personalized code. This process helps you add new screens to an existing project by adapting to your libraries, frameworks, and naming conventions.
Prerequisites
- A valid Coding Assistant account
- A project folder open in your development environment
- A Figma design link for the screen you want to convert
Steps
Log in to Coding Assistant.
Select Generate single screen code from the menu on top.
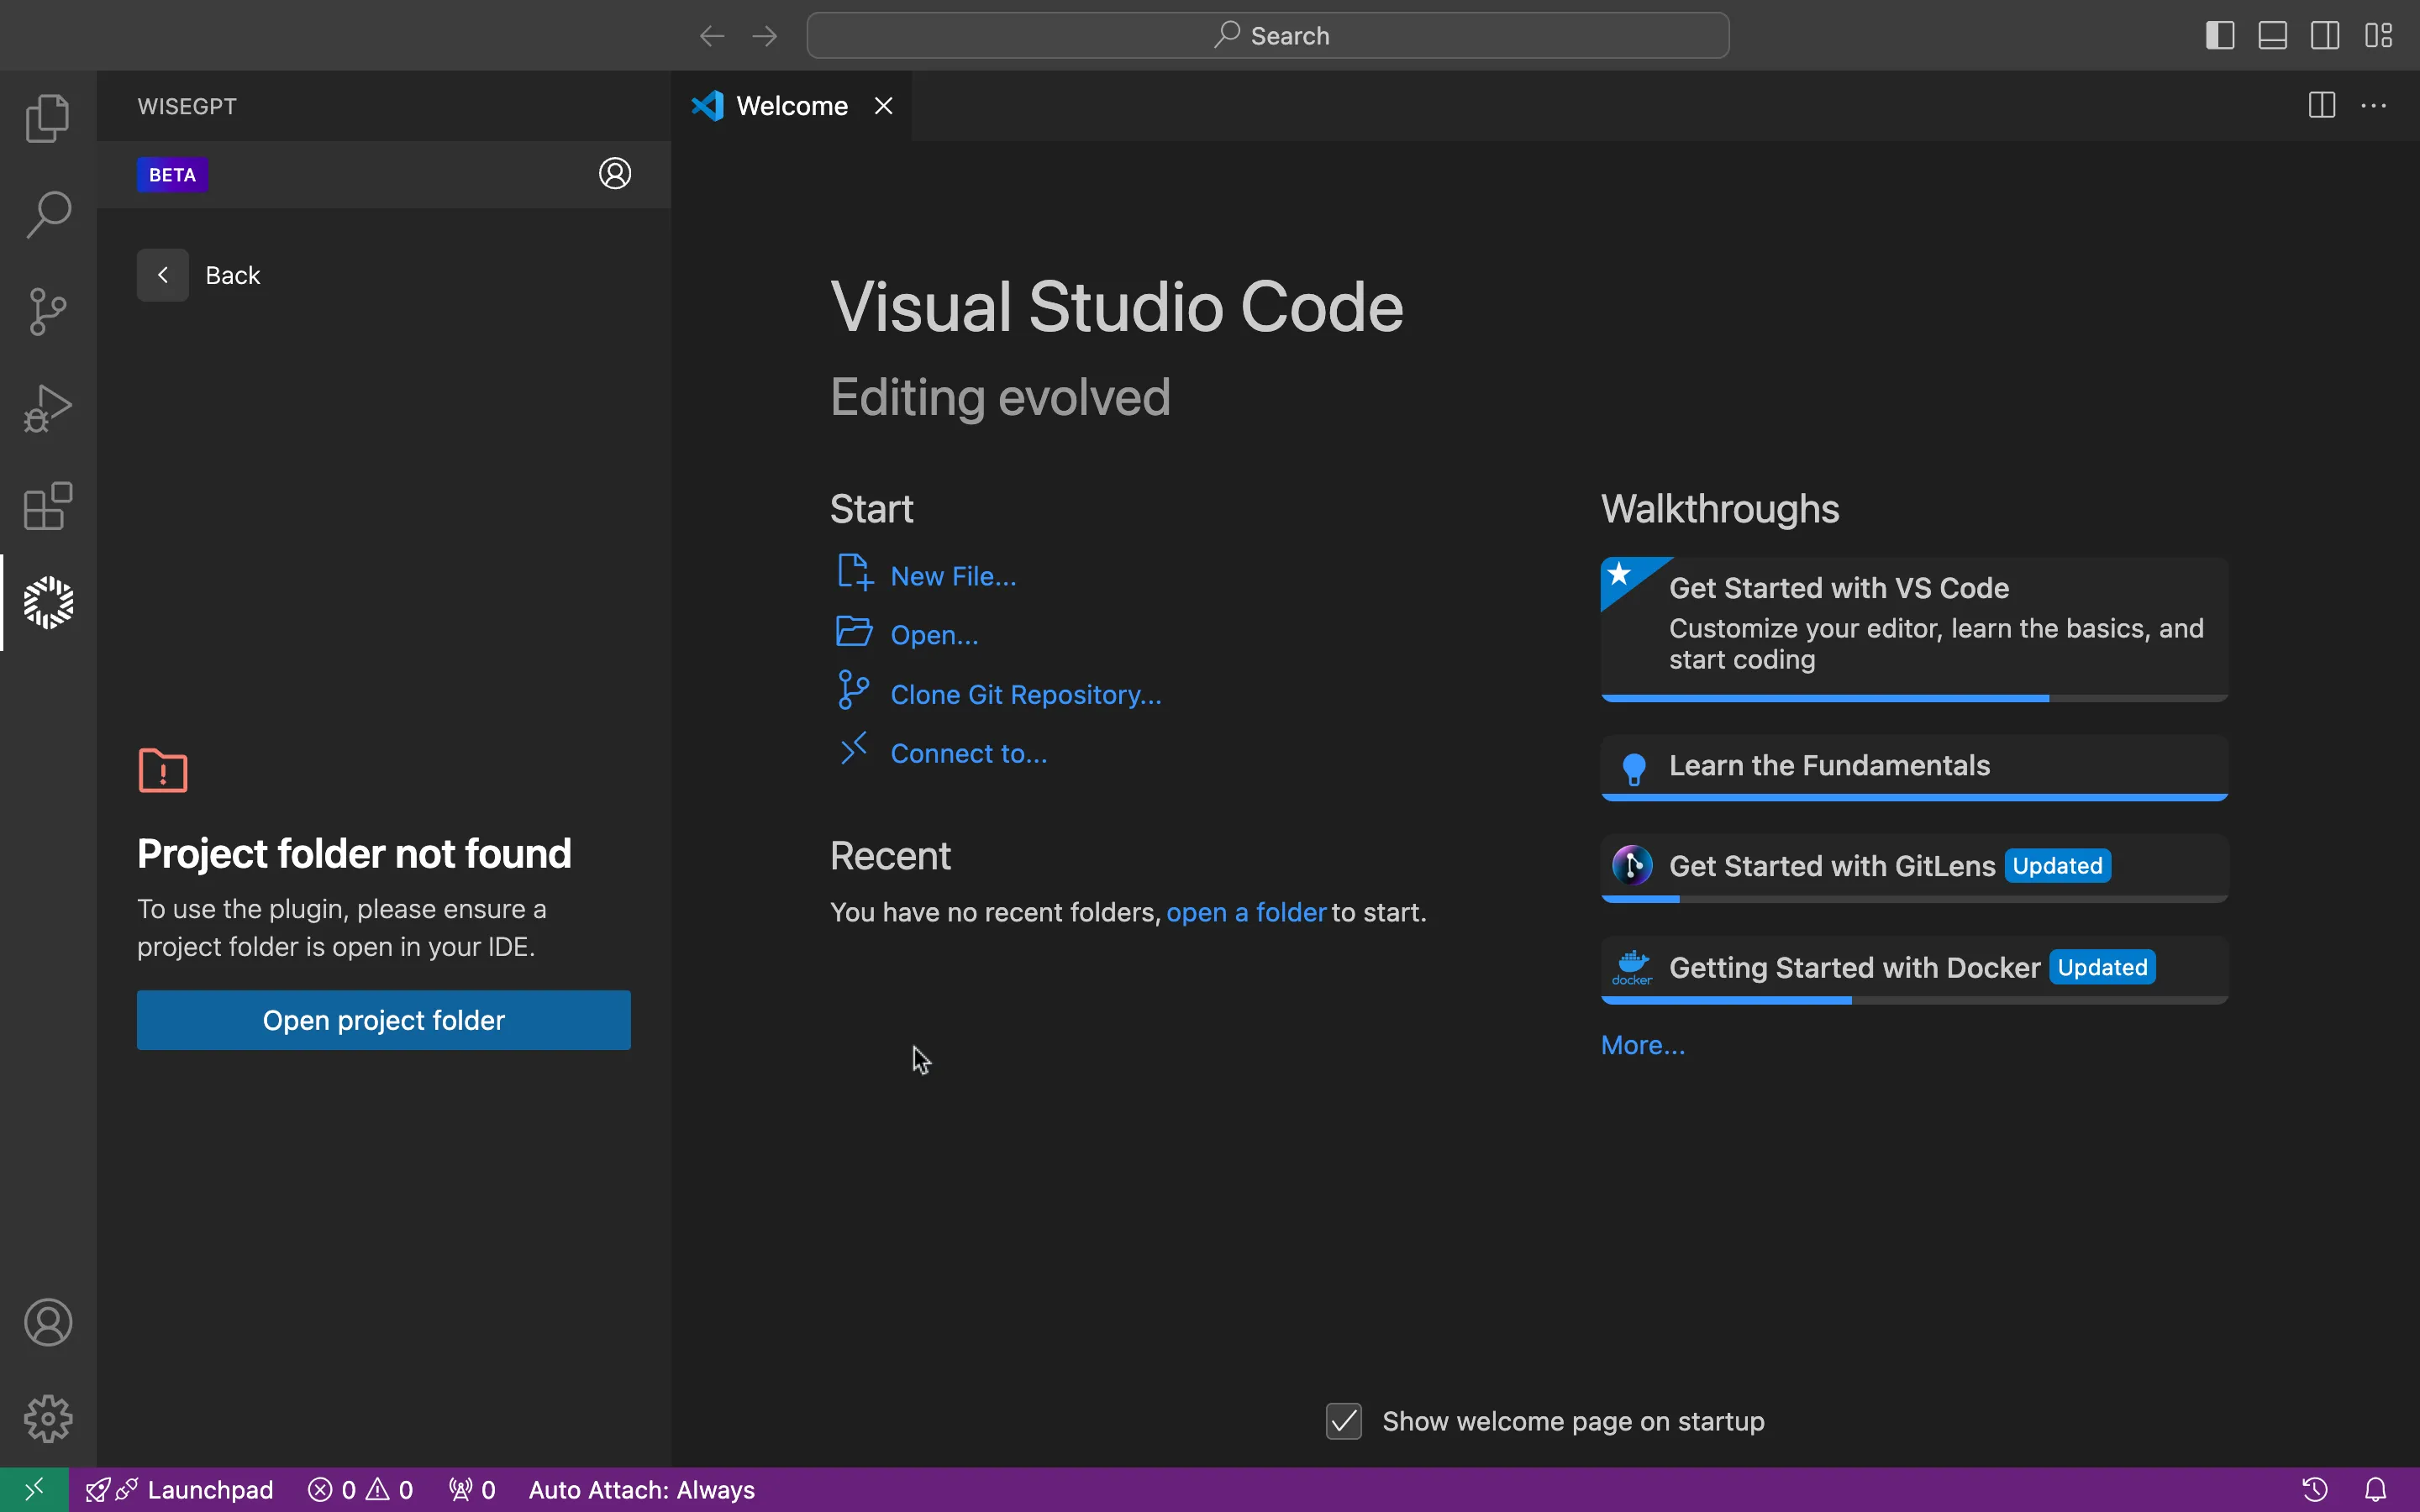
Ensure you have a project folder open. Click Open project folder if it is not already set.
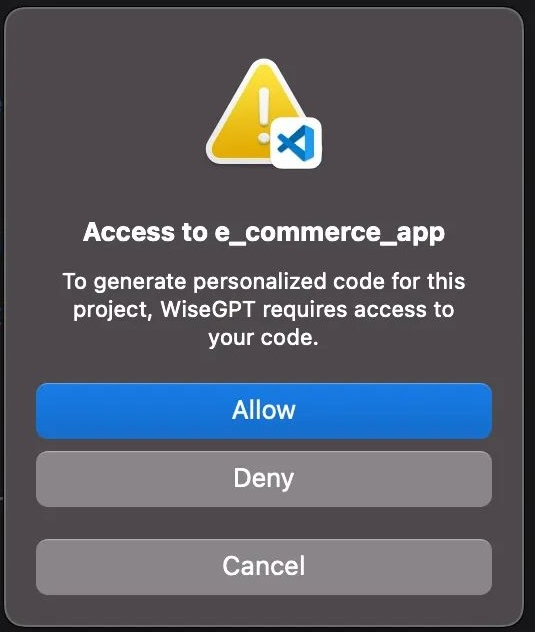
Click Allow to grant Coding Assistant permission to analyze your existing source code.
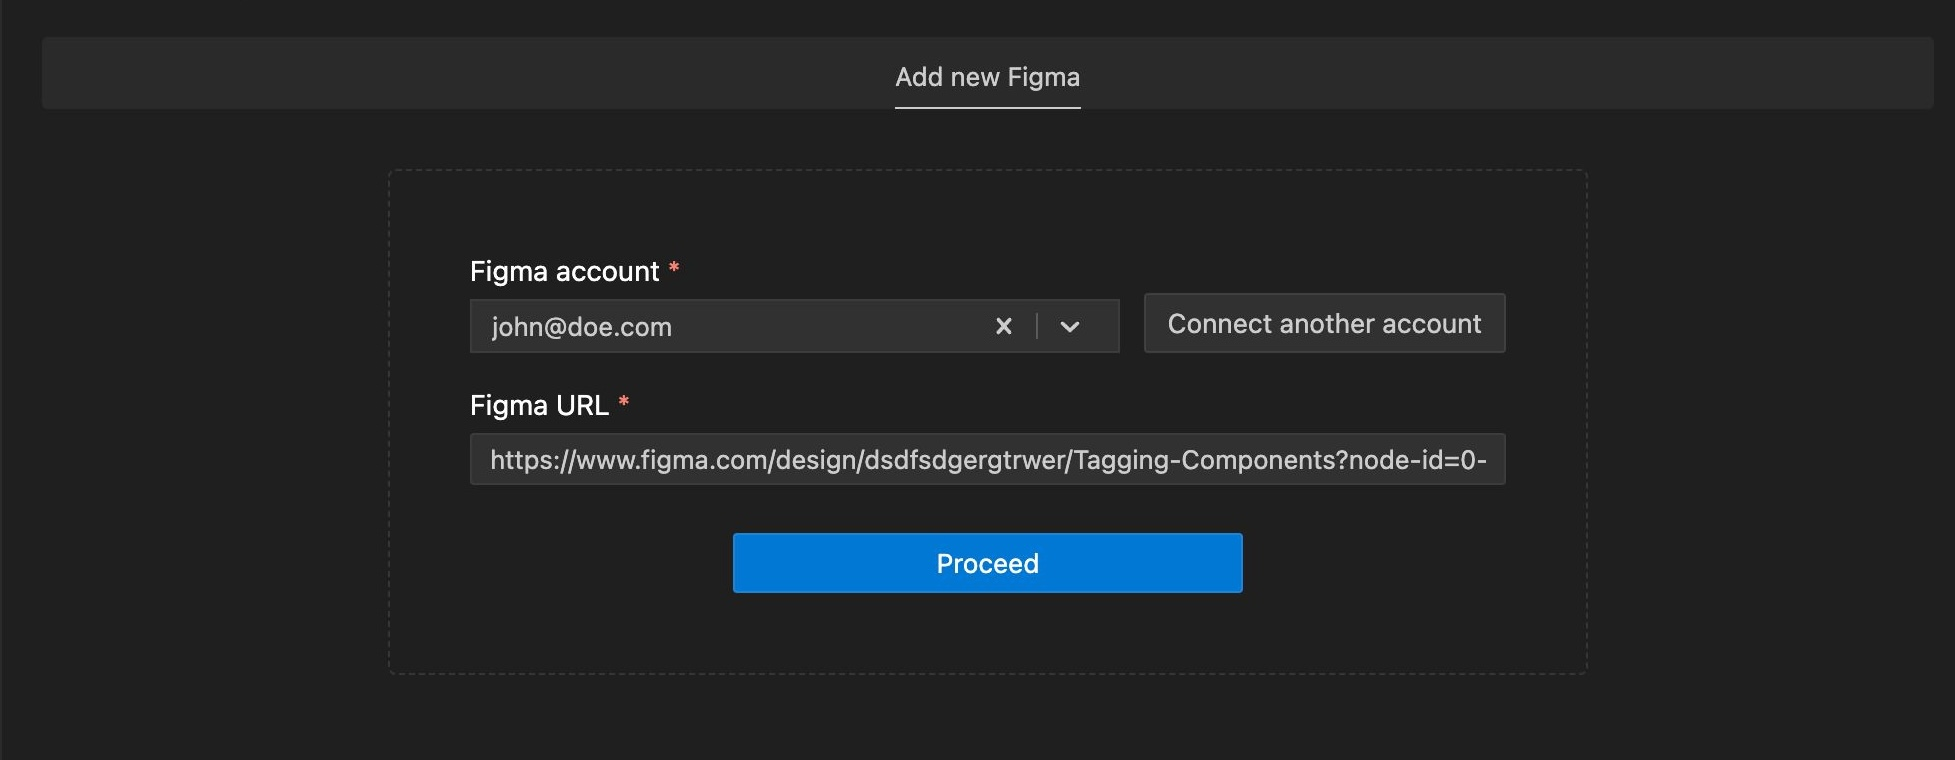
- Select your Figma account from the dropdown or connect a new account.
- Paste the design URL into the Figma URL field.
- Click Proceed to start the code generation process.
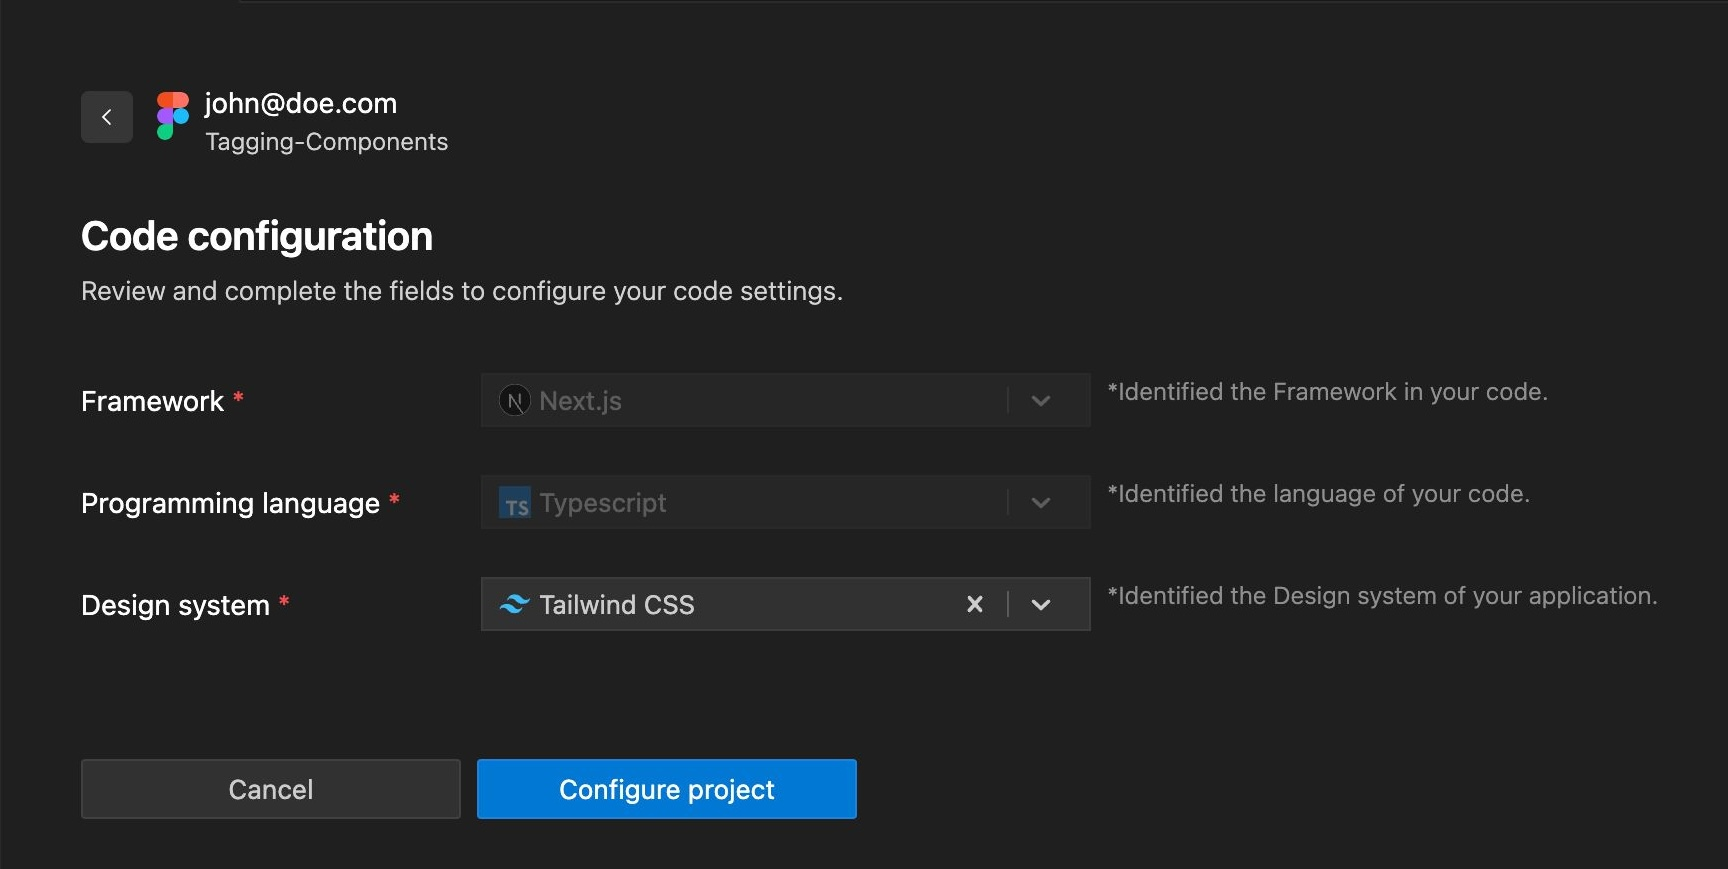
- Check the Framework field.
- Select a State Management option.
- Click Configure project after verifying the settings.
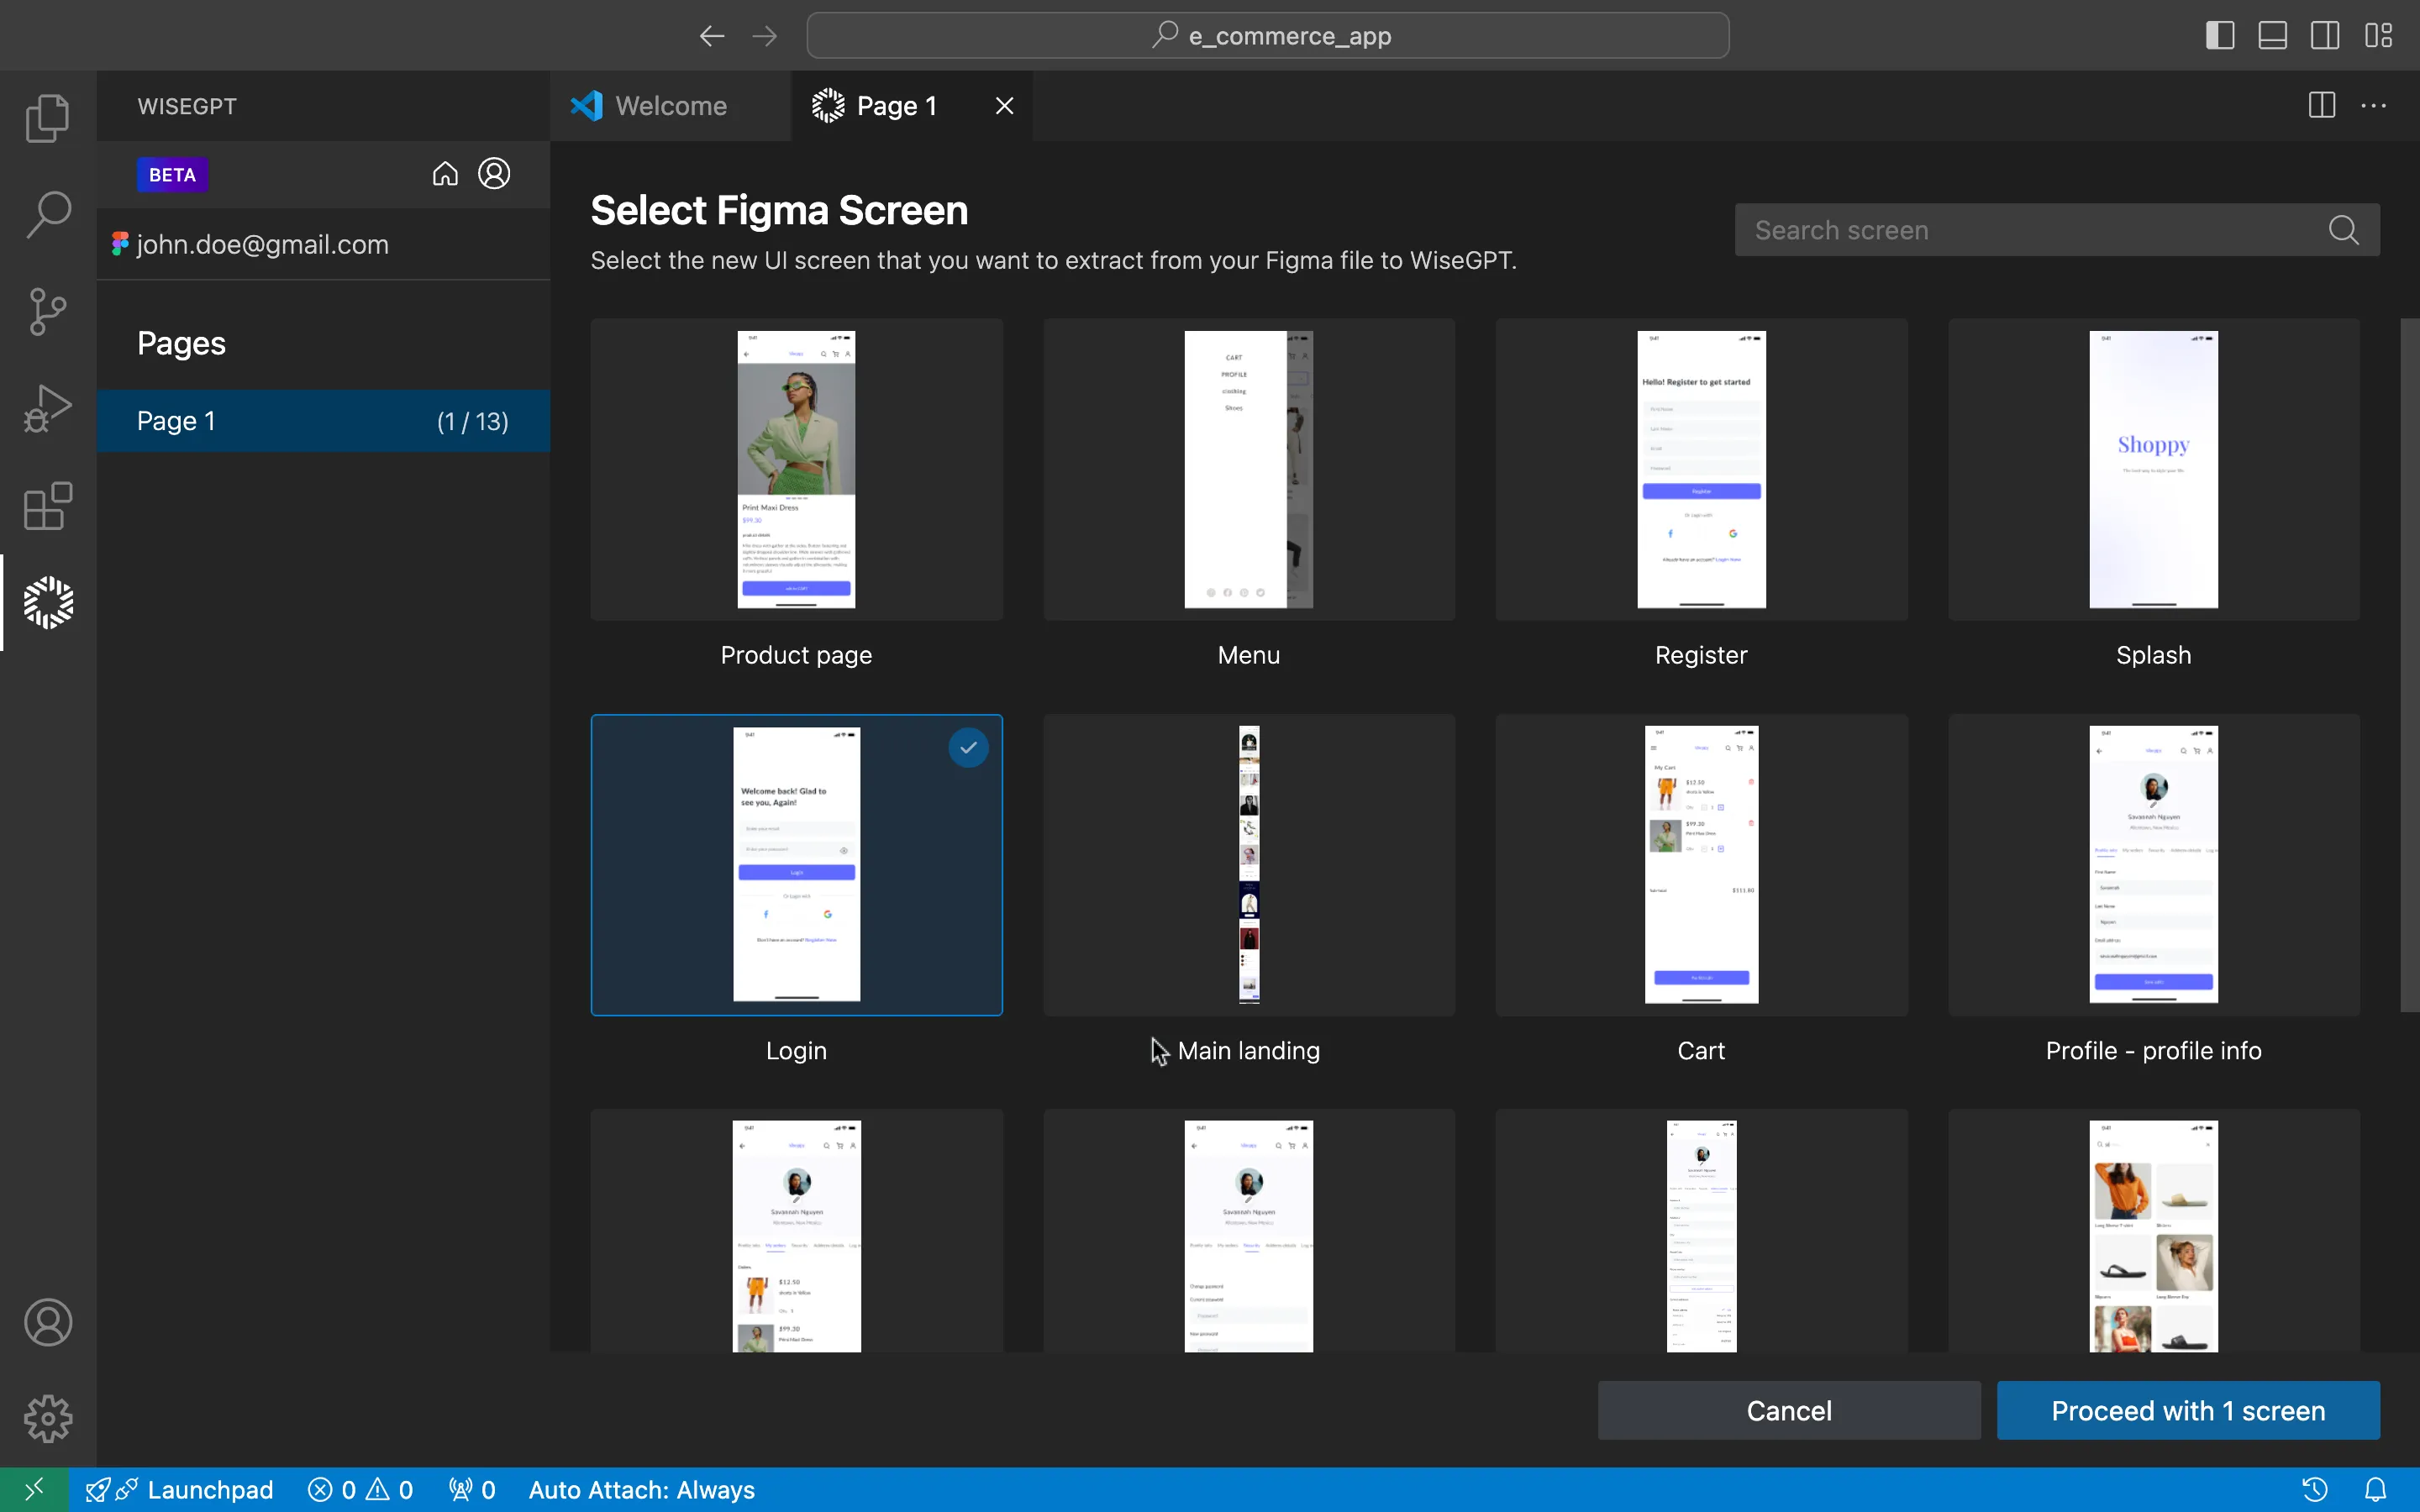
- Browse the fetched Figma screens.
- Click the desired screen.
- Click Proceed with 1 screen.
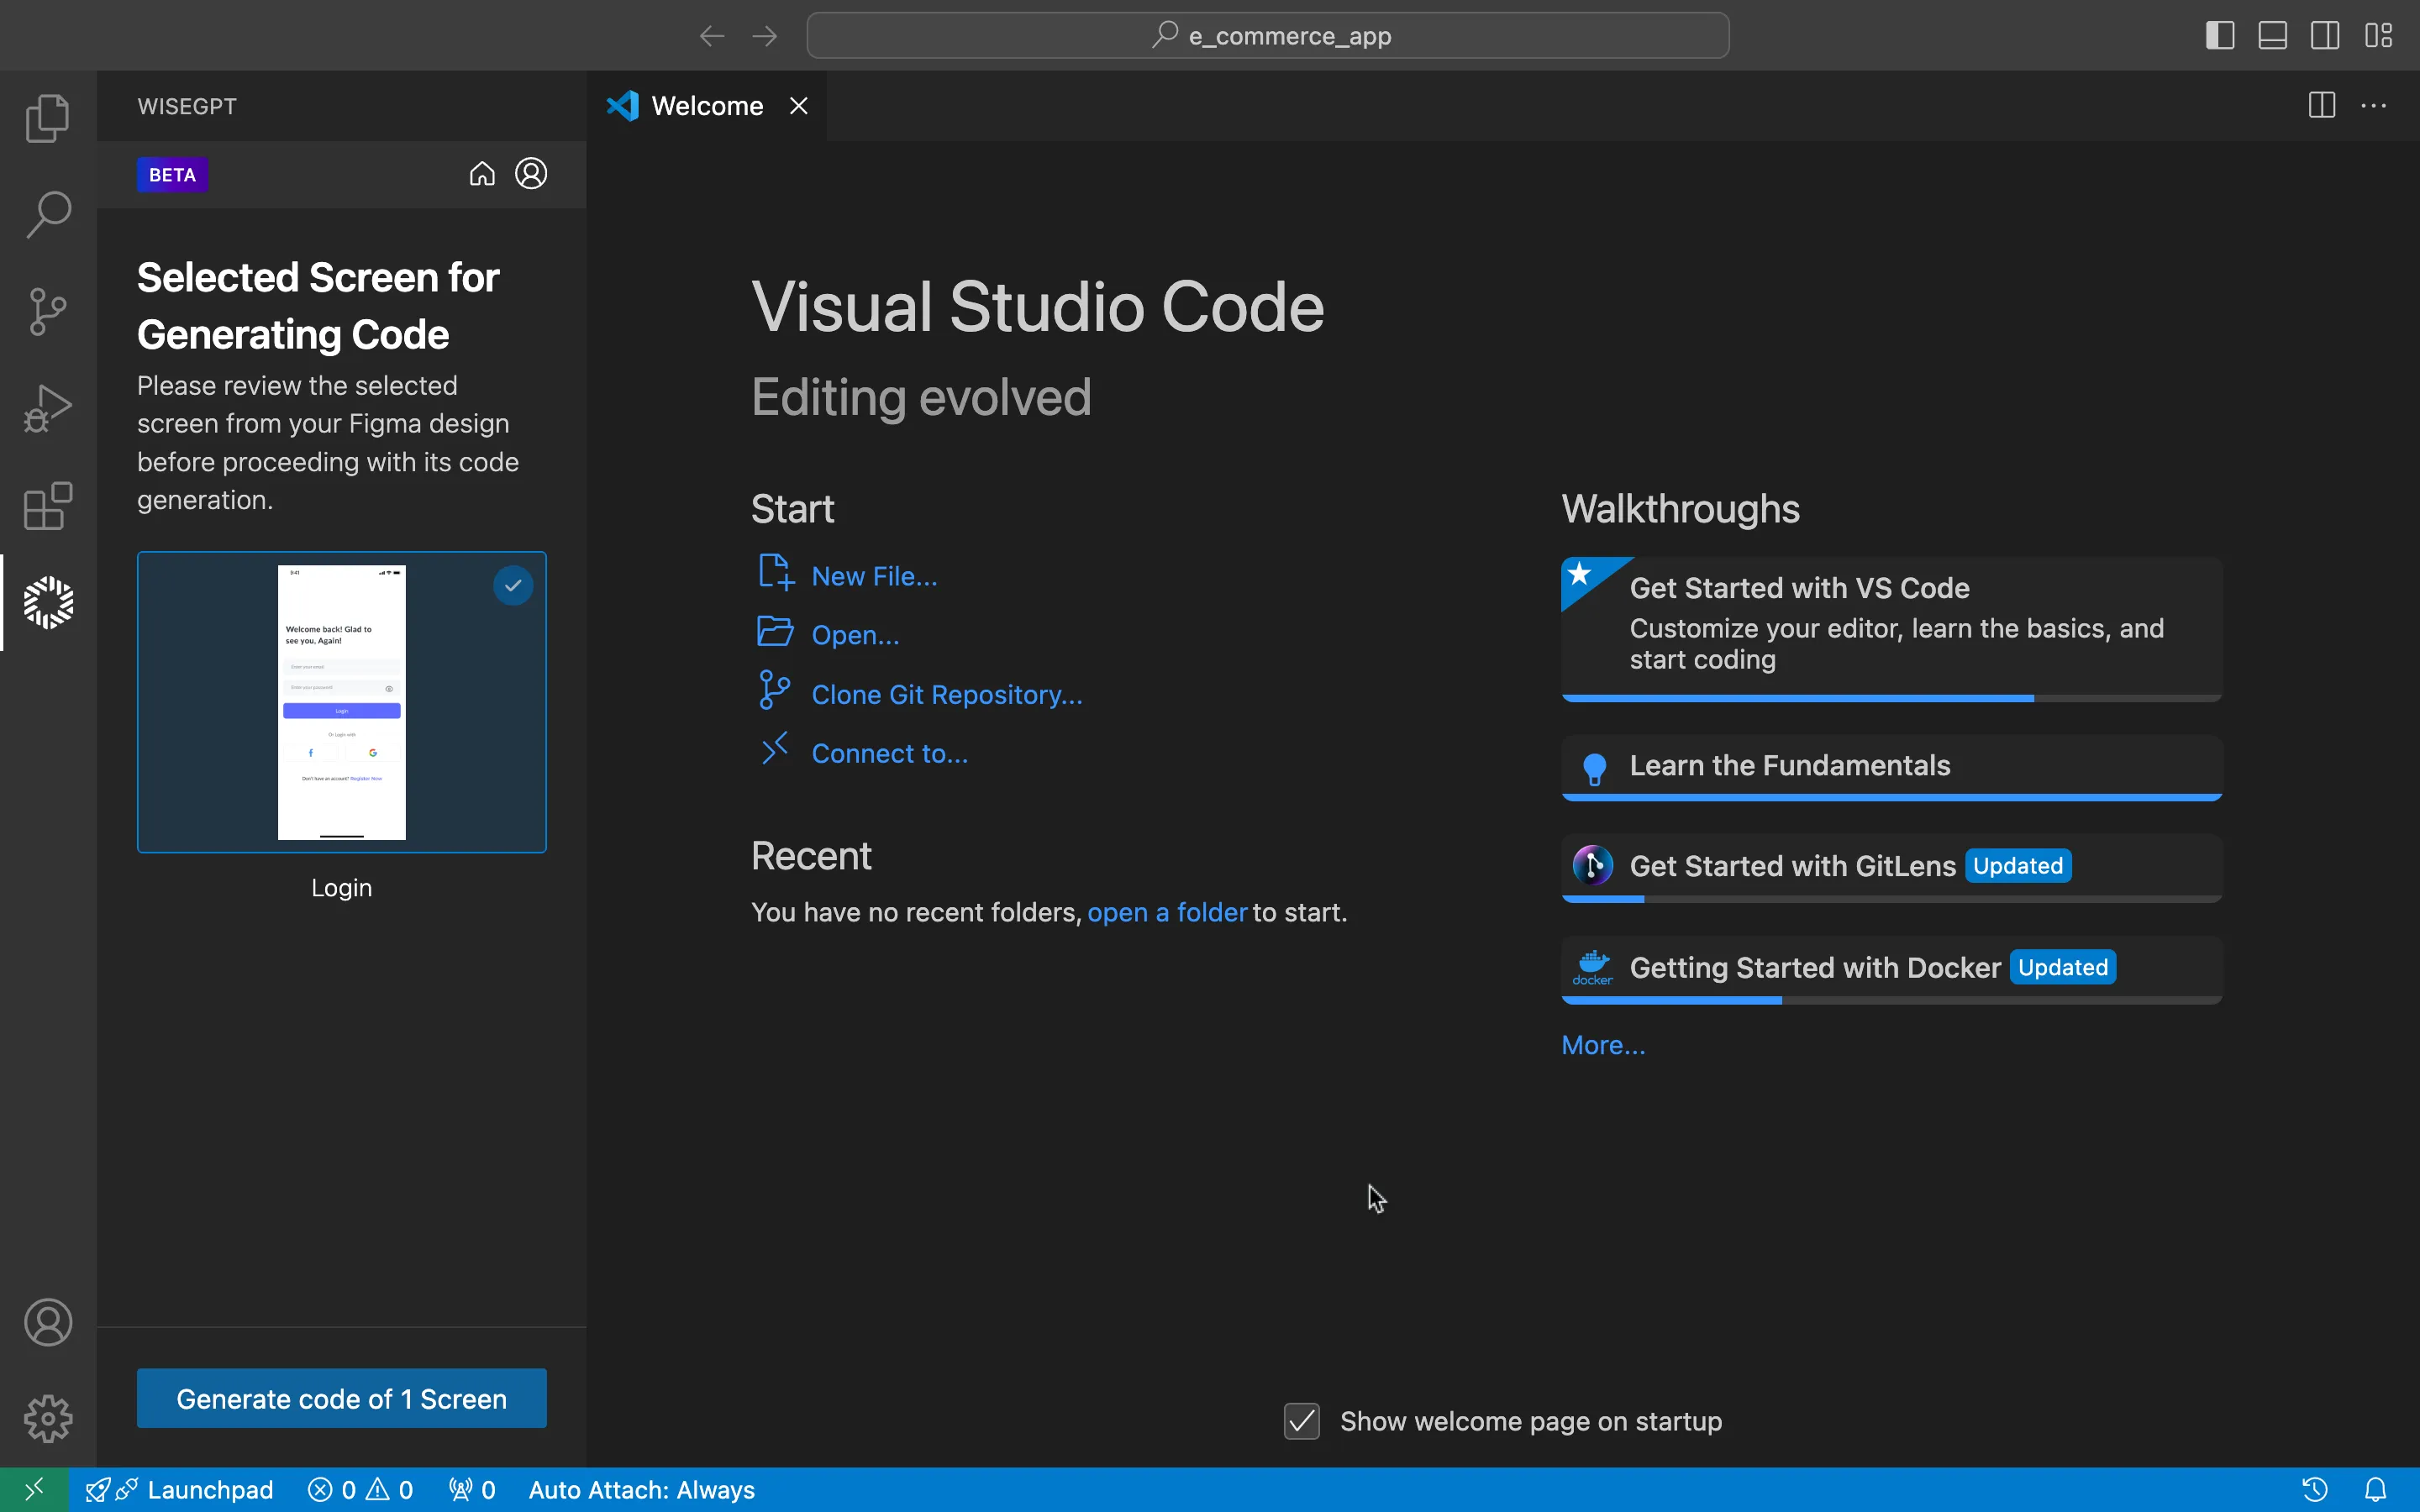
Wait while Coding Assistant processes your selected screen.
Confirm the correct screen, then click Generate code of 1 Screen to initiate code generation.
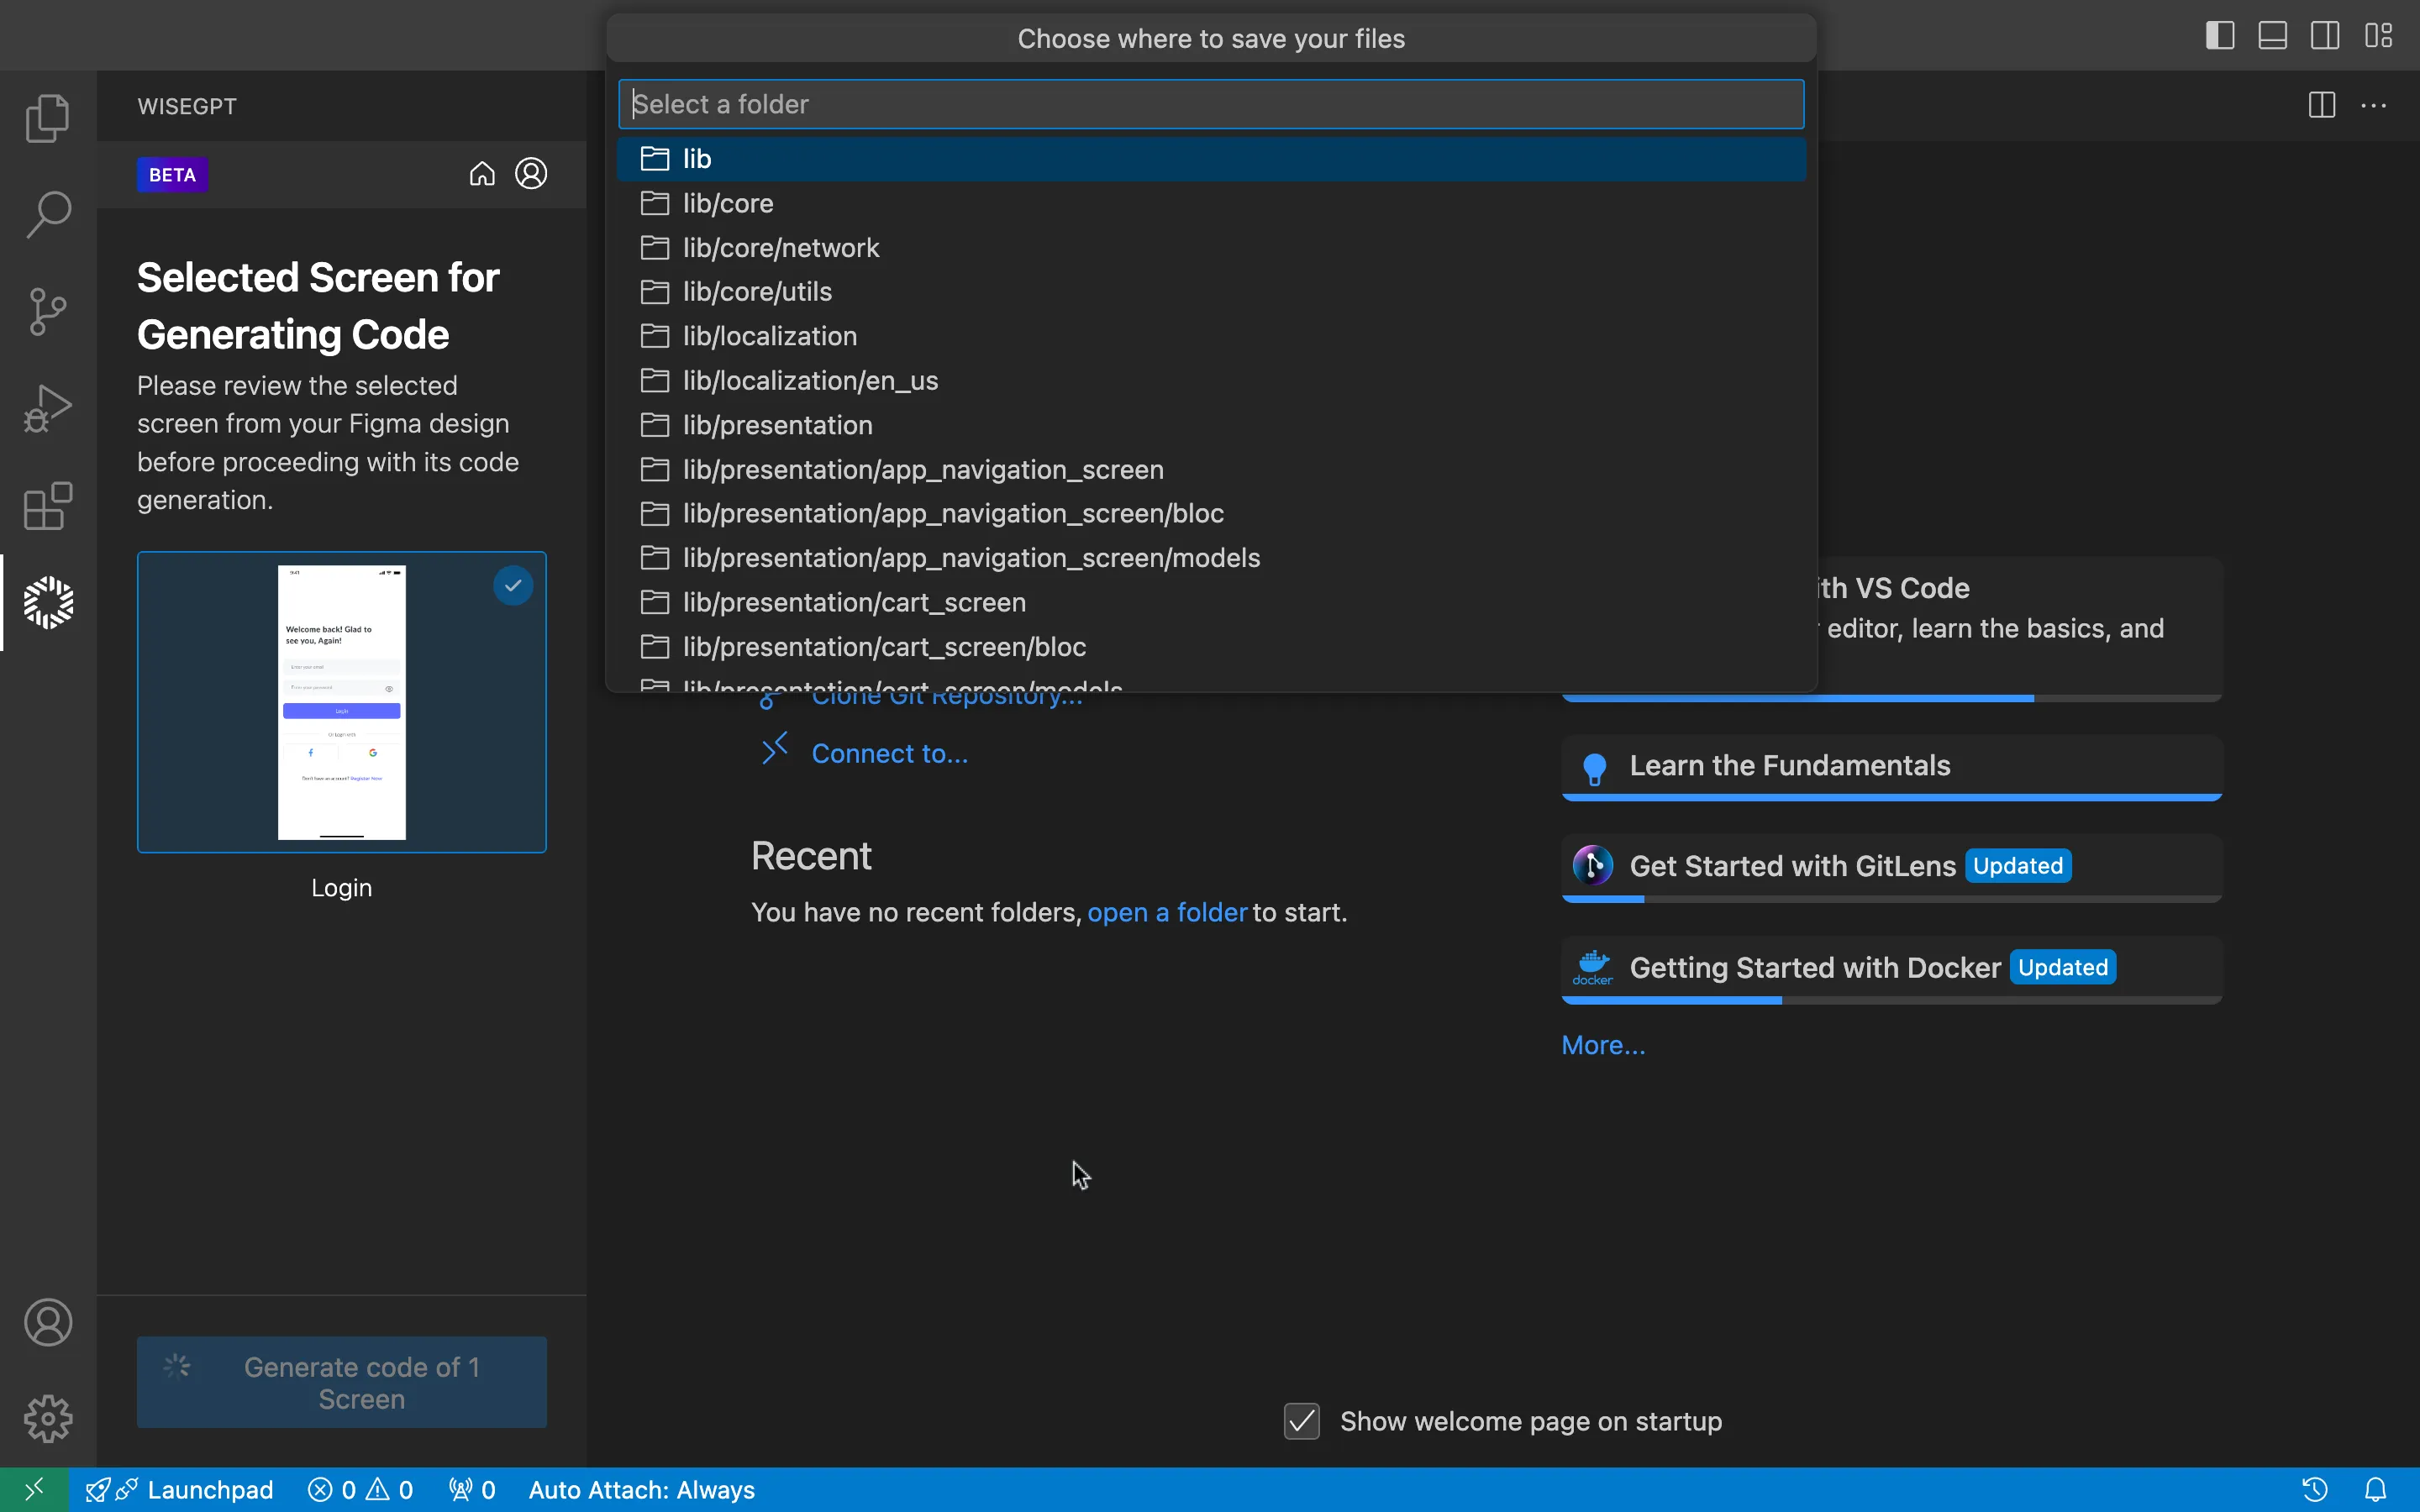
- Select a folder in your project directory for the generated files.
- Proceed to save the files.
- Monitor the progress while Coding Assistant generates code.
- Open the new files displayed in your project directory.
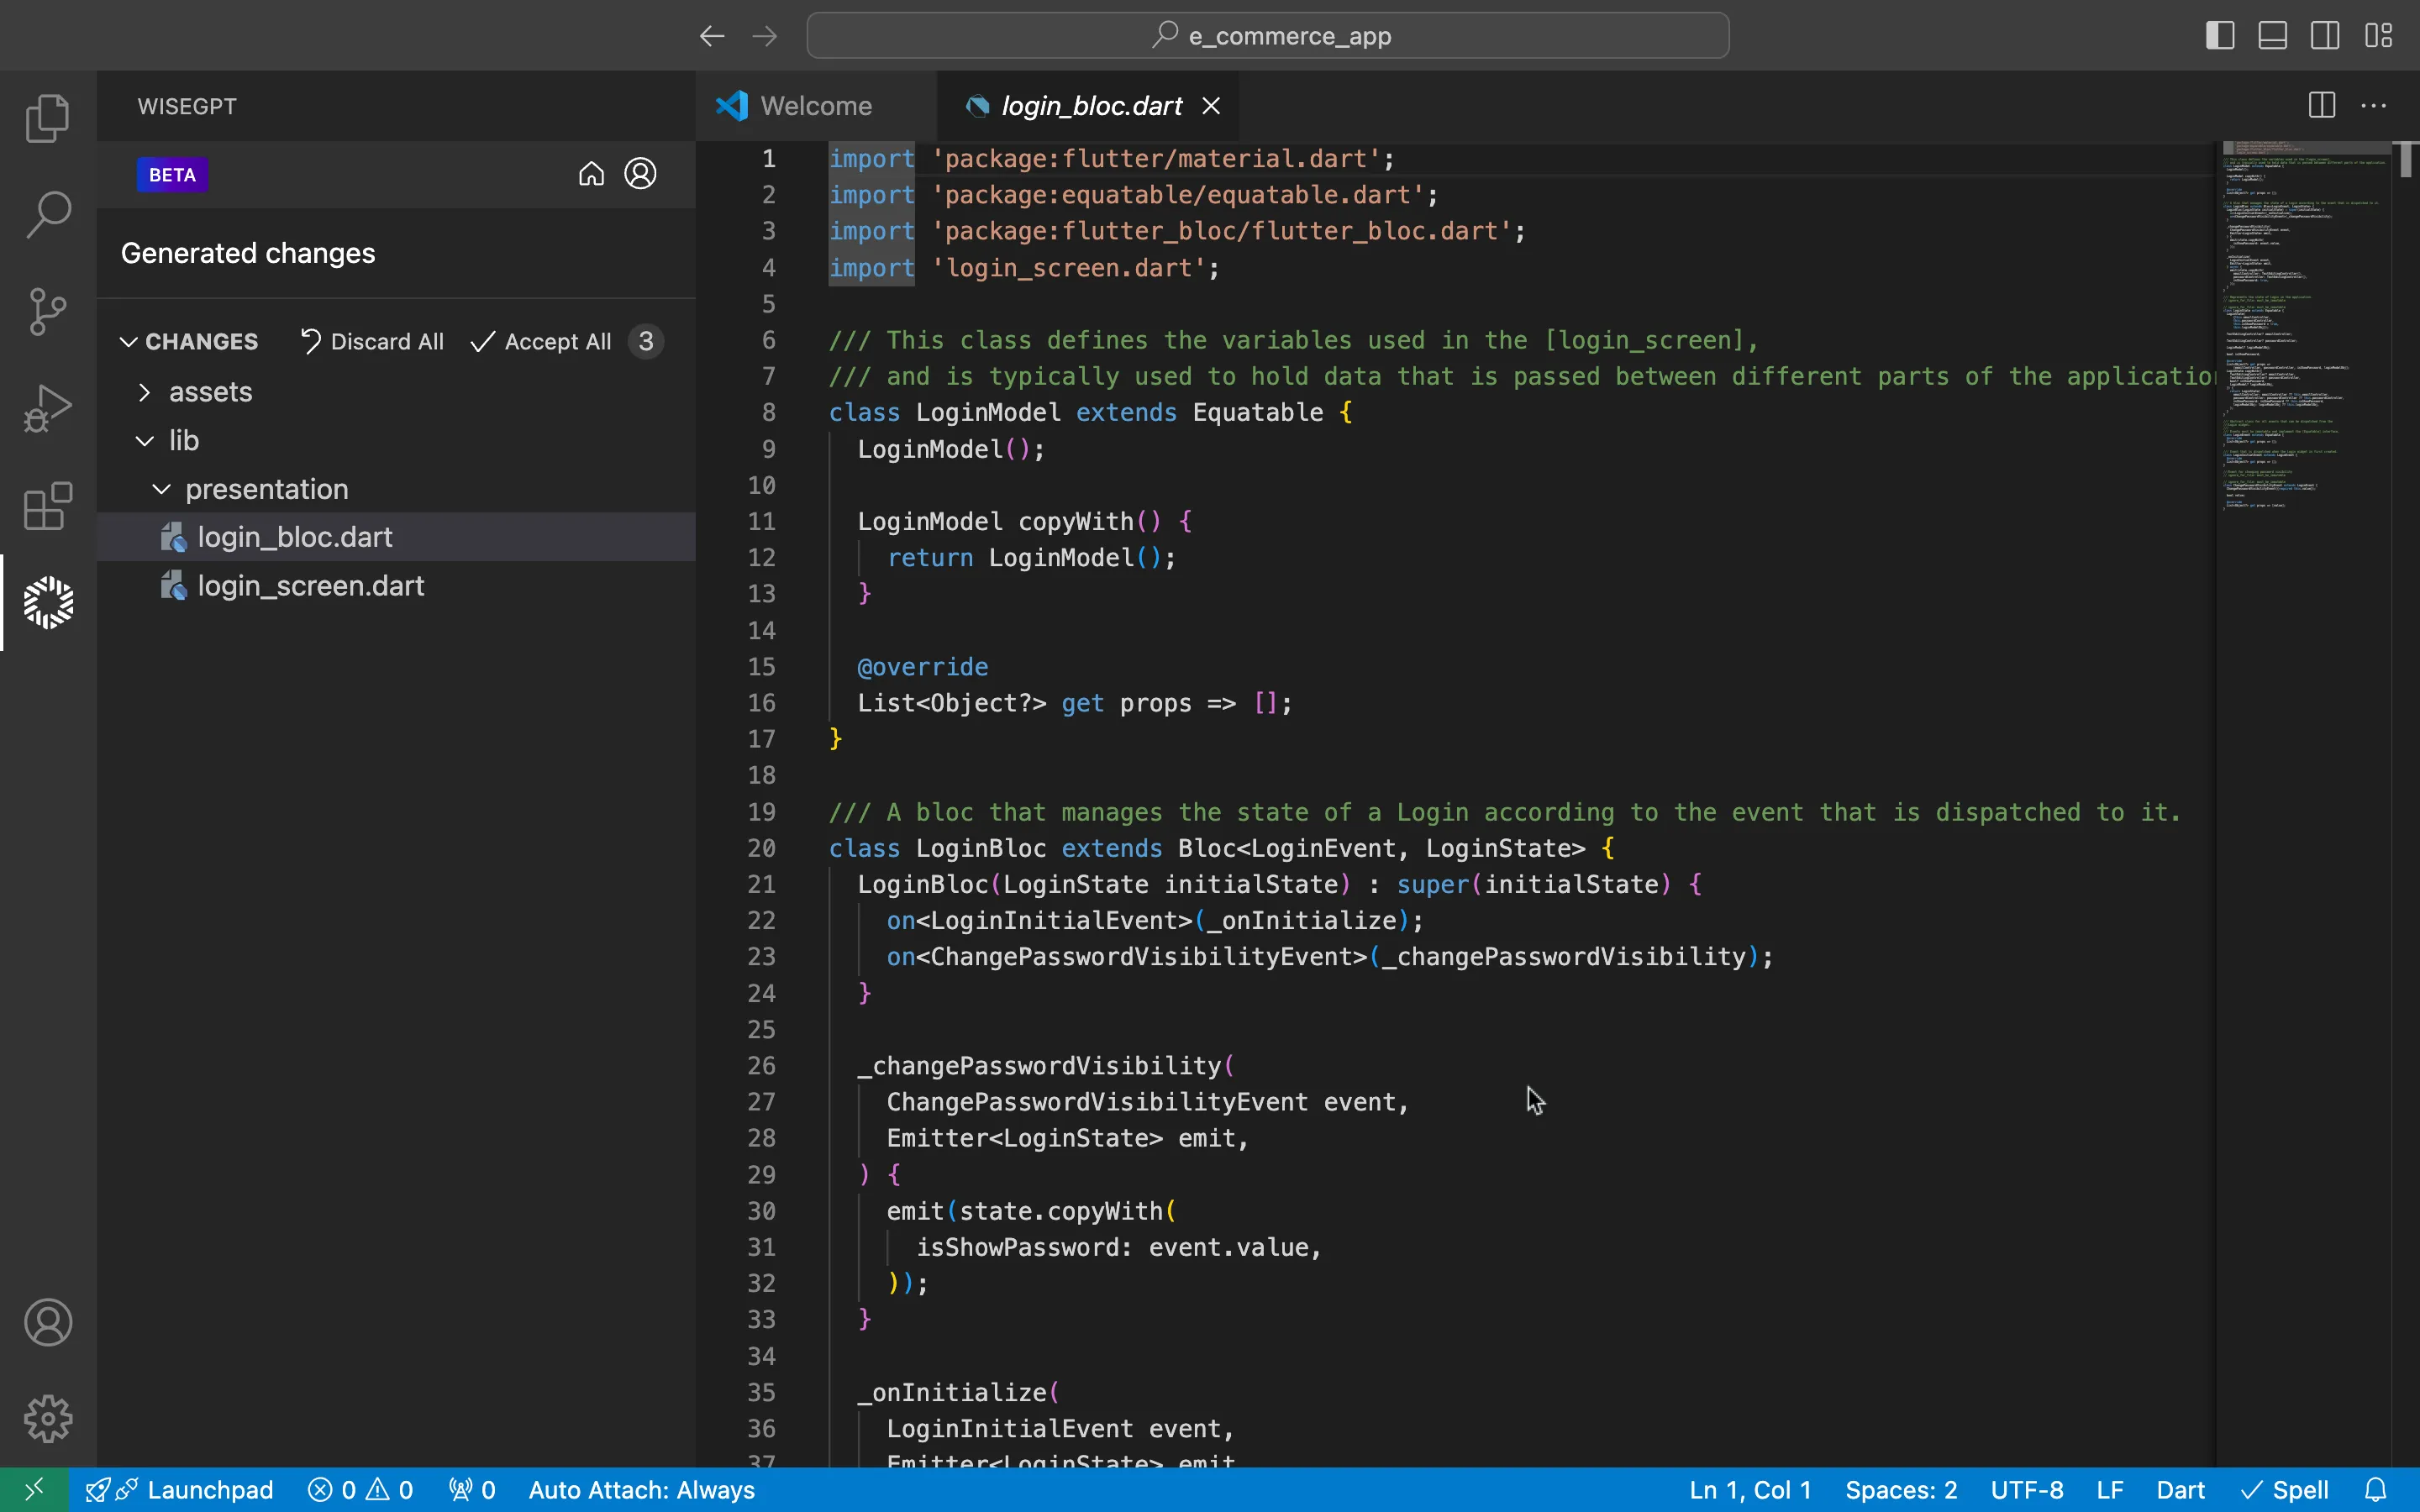
- Review the changes section.
- Click Discard All or Accept All to manage code integration.
Provide feedback after code generation to help improve Coding Assistant. This feedback helps refine algorithms for future updates.
FAQS
How does the codebase analysis feature work, and why is it necessary?
The codebase analysis feature scans your existing project's source files to identify frameworks, libraries, and naming conventions. This helps Coding Assistant generate code that aligns with your established structure and style, allowing for seamless integration of new screens with minimal manual adjustments.
What Figma account permissions or configurations are required?
You need an active Figma account with access to the specific design file you want to convert. Coding Assistant will prompt you to select or connect your Figma account. Ensure that any sharing settings in Figma allow for reading the design link (typically "Can view" or higher). No special plugins or additional permissions beyond design access are required.
Which frameworks and state management tools are supported by Coding Assistant?
Coding Assistant supports various frontend and backend frameworks such as React, HTML, Next.js, Flutter, iOS, Android, and React Native.
Can I choose where the generated code files will be saved in my project?
Yes. Once the code is generated, Coding Assistant will prompt you to select a target folder within your project directory, giving you full control over where the new screen files are placed.
What should I do if the generated code doesn't match my coding conventions?
If the generated code style deviates from your project conventions, you can regenerate the code to better meet your standards.
Is there a way to regenerate the screen code if I make design changes in Figma?
Absolutely. Simply repeat the single-screen code generation steps with the updated Figma URL. Coding Assistant will analyze the revised design and produce fresh code. Keep in mind that you'll need to re-apply any customizations made to the previously generated files.
How can I integrate the new screen into my current codebase without conflicts?
After generating the screen code:
-
Review the new files in your code editor's changes or diff section.
-
Resolve any naming or structural conflicts by adjusting file names, imports, or references.
-
Accept or discard code changes as needed.
-
Test the updated application to ensure everything works as intended. This process ensures a smooth integration and minimal disruption to your existing code.